
FIRST...WHAT IS An SSL, and why is it important???
SSL (Secure Sockets Layer) is the backbone of our secure Internet, and it protects your sensitive information as it travels across the world's computer networks. SSL is essential for protecting your website, even if it doesn't handle sensitive information like credit cards. It provides privacy, critical security, and data integrity for both your websites and your users' personal information.
If the store is going to use Fortis for the payment processor, the store absolutely needs to obtain an SSL in order to have their Company Branded site function.
BUT … WHAT IS IT EXACTLY???
SSL stands for “Secure Socket Layer.” It is a technology that establishes a secure session link between the visitor’s web browser and your website so that all communications transmitted through this link are encrypted and are, therefore, secure. SSL is also used for transmitting secure email, secure files, and other forms of information. Would you send your private information or banking details to someone on the back of a postcard? SSL creates a safe and private channel for you to communicate.
The Process
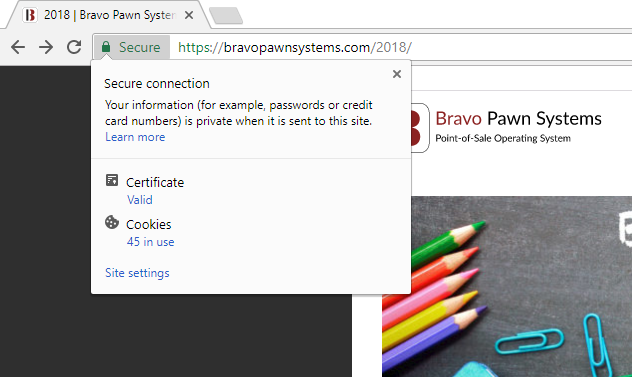
Every SSL certificate that is issued for a CA-verified entity is issued for a specific server and website domain (website address). When a person uses their browser to navigate to the address of a website with an SSL certificate, an SSL handshake (greeting) occurs between the browser and server. Information is requested from the server – which is then made visible to the person in their browser window. You will notice changes to indicate that a secure session has been initiated – for example, a trust mark will appear. If you click on the trust mark, you will see additional information such as the validity period of the SSL certificate, the domain secured, the type of SSL certificate, and the issuing CA. All of this means that a secure link is established for that session, with a unique session key, and secure communications can begin.
An SSL certificate is a digital computer file (or small piece of code) that has two specific functions:
- Authentication and Verification
- The SSL certificate has information about the authenticity of certain details regarding the identity of a person, business, or website. It will display this to visitors on your website when they click on the browser’s padlock symbol or trust mark (e.g., the Norton™ Secured Seal).
- The vetting criteria used by Certificate Authorities to determine if an SSL certificate should be issued is most stringent with an Extended Validation (EV) SSL certificate; making it the most trusted SSL certificate available.
- The SSL certificate has information about the authenticity of certain details regarding the identity of a person, business, or website. It will display this to visitors on your website when they click on the browser’s padlock symbol or trust mark (e.g., the Norton™ Secured Seal).
- Data Encryption
- The SSL certificate also enables encryption--which means that the sensitive information exchanged via the website cannot be intercepted and read by anyone other than the intended recipient.
In the same way that an identity document or passport may only be issued by the country’s government officials, an SSL certificate is most reliable when issued by a trusted Certificate Authority (CA). The CA must follow very strict rules and policies about who may or may not receive an SSL certificate. When you have a valid SSL certificate from a trusted CA, there is more trust by your customers, clients, or partners.
How Does SSL Encryption Work? In the same way that you lock and unlock doors using a key, encryption makes use of keys to lock and unlock your information. Unless you have the right key, you will not be able to “open” the information.
Each SSL session consists of two keys:
- The public key is used to encrypt (scramble) the information.
- The private key is used to decrypt (un-scramble) the information and restore it to its original format so that it can be read.
GUIDE FOR TECHS
- The user will need to tell us how to fill out the CSR (CODE SIGNING REQUEST), which looks like this:
(The Common name will be the Company Branded website’s URL)
(ORG UNIT is the department of the company...i.e. IT DEPARTMENT)
(You will need to obtain how LONG the store bought the SSL for. Highly recommend a 2-year SSL)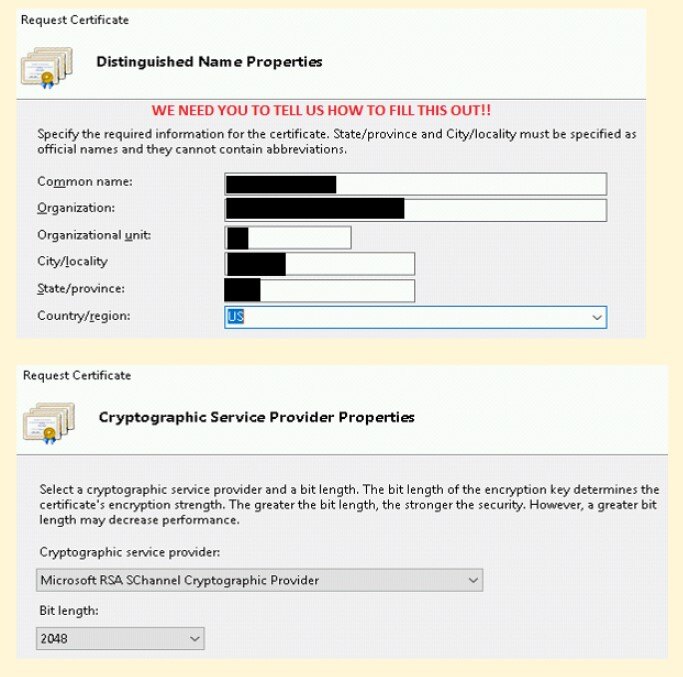
- Then, the user will need to PURCHASE an SSL Certificate. For this example, we will use GO DADDY as the hosting provider. The user can purchase the SSL from go daddy at this link.
https://www.godaddy.com/web-security/ssl-certificate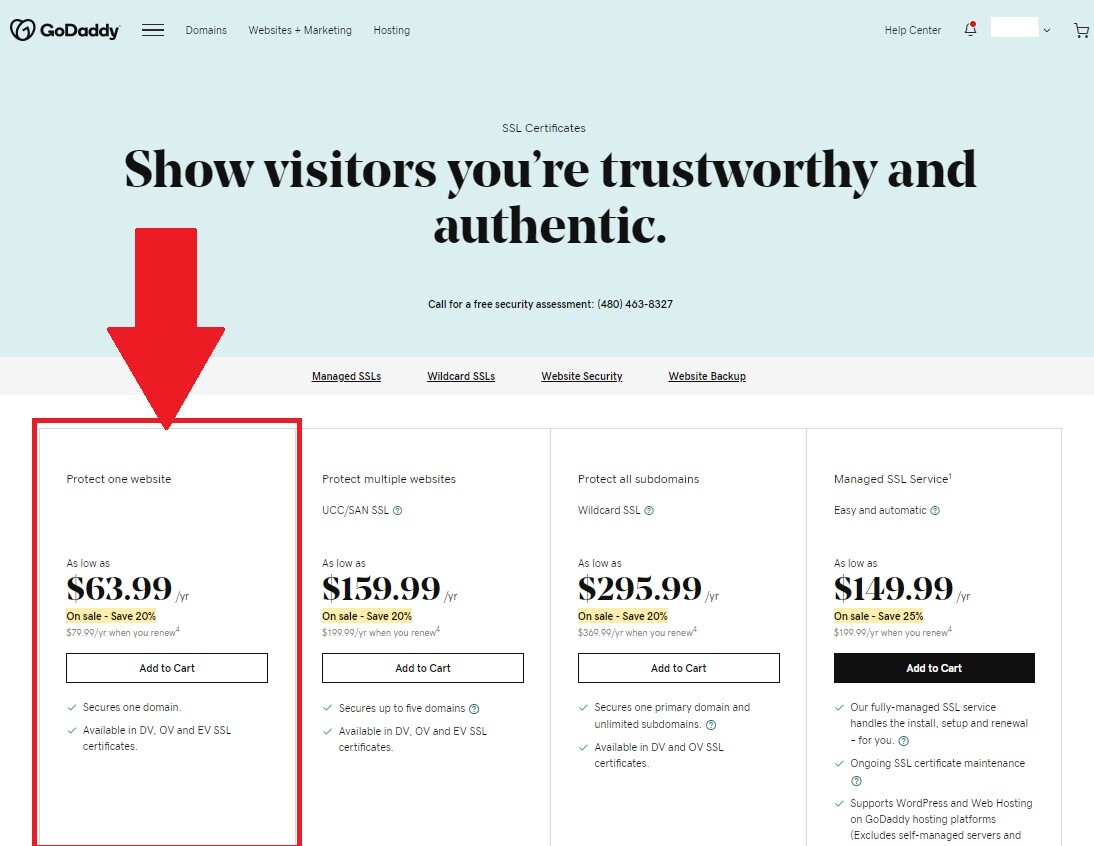
- Once Purchased, the user will need to provide us with the information on the SSL including the time frame they purchased for the SSL, and which price package they acquired. This way we can inform the DEV team, so they can produce the next step.
- Once reported back, we will inform the DEV team in the case and provide all that information to them.
- Once the DEV TEAM has all the information they need, they will produce the OFFICIAL CSR and attach that to the case. This appears as a text document and will need to be given directly to the user in full.
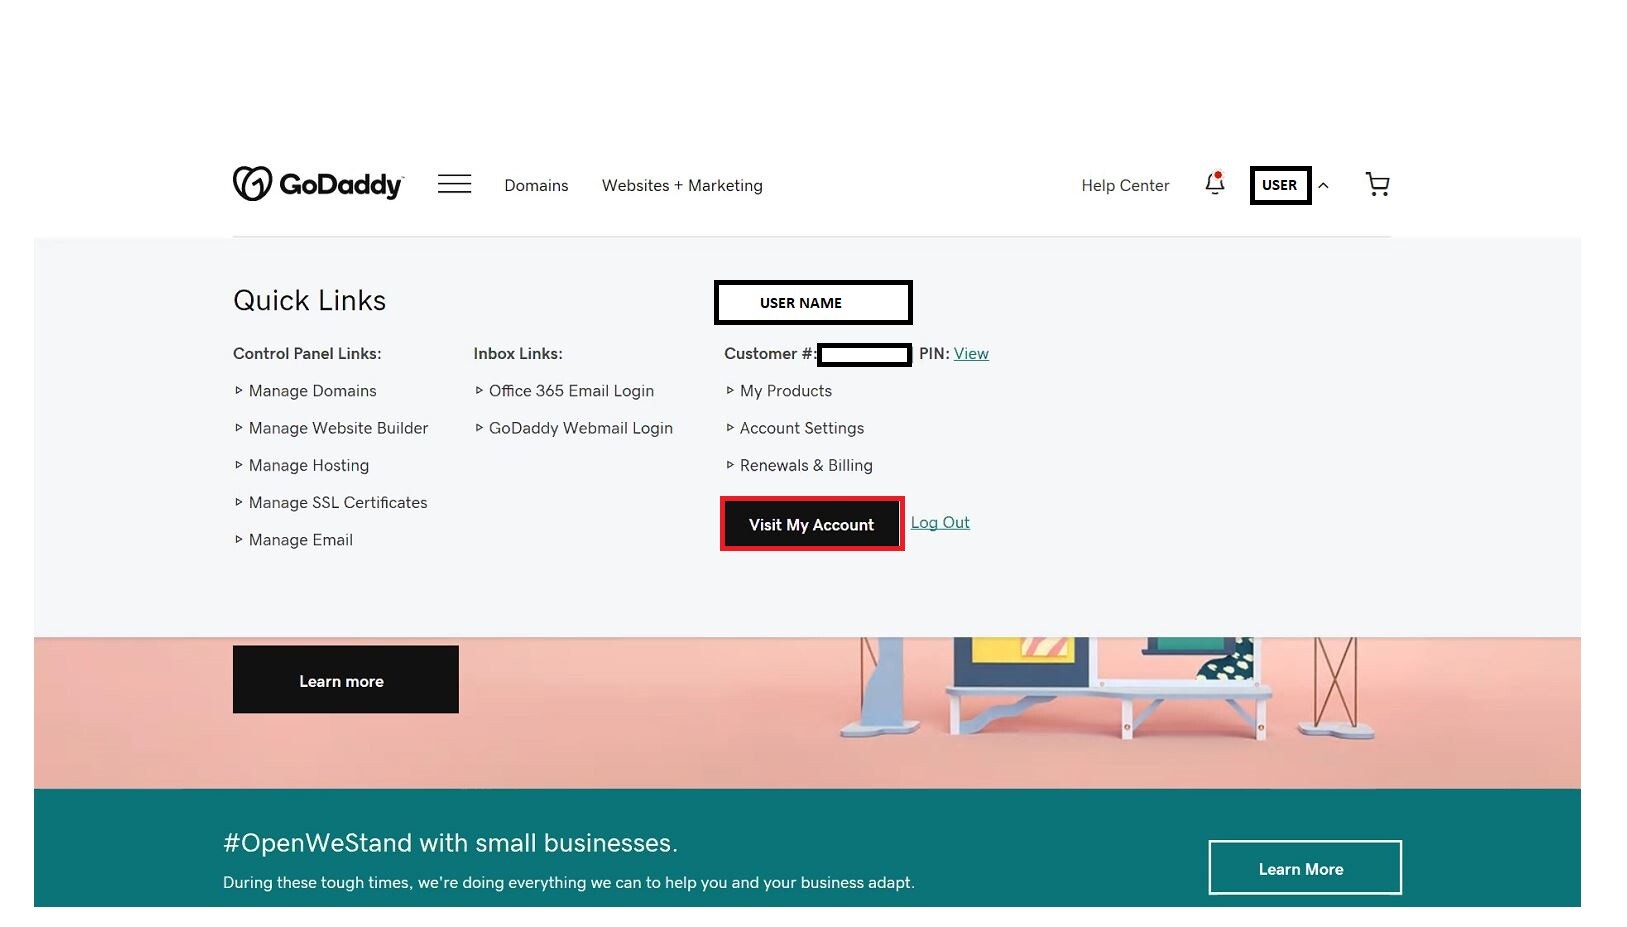
- Once the CSR has been given to the user, they will then need to go log into their GO DADDY account
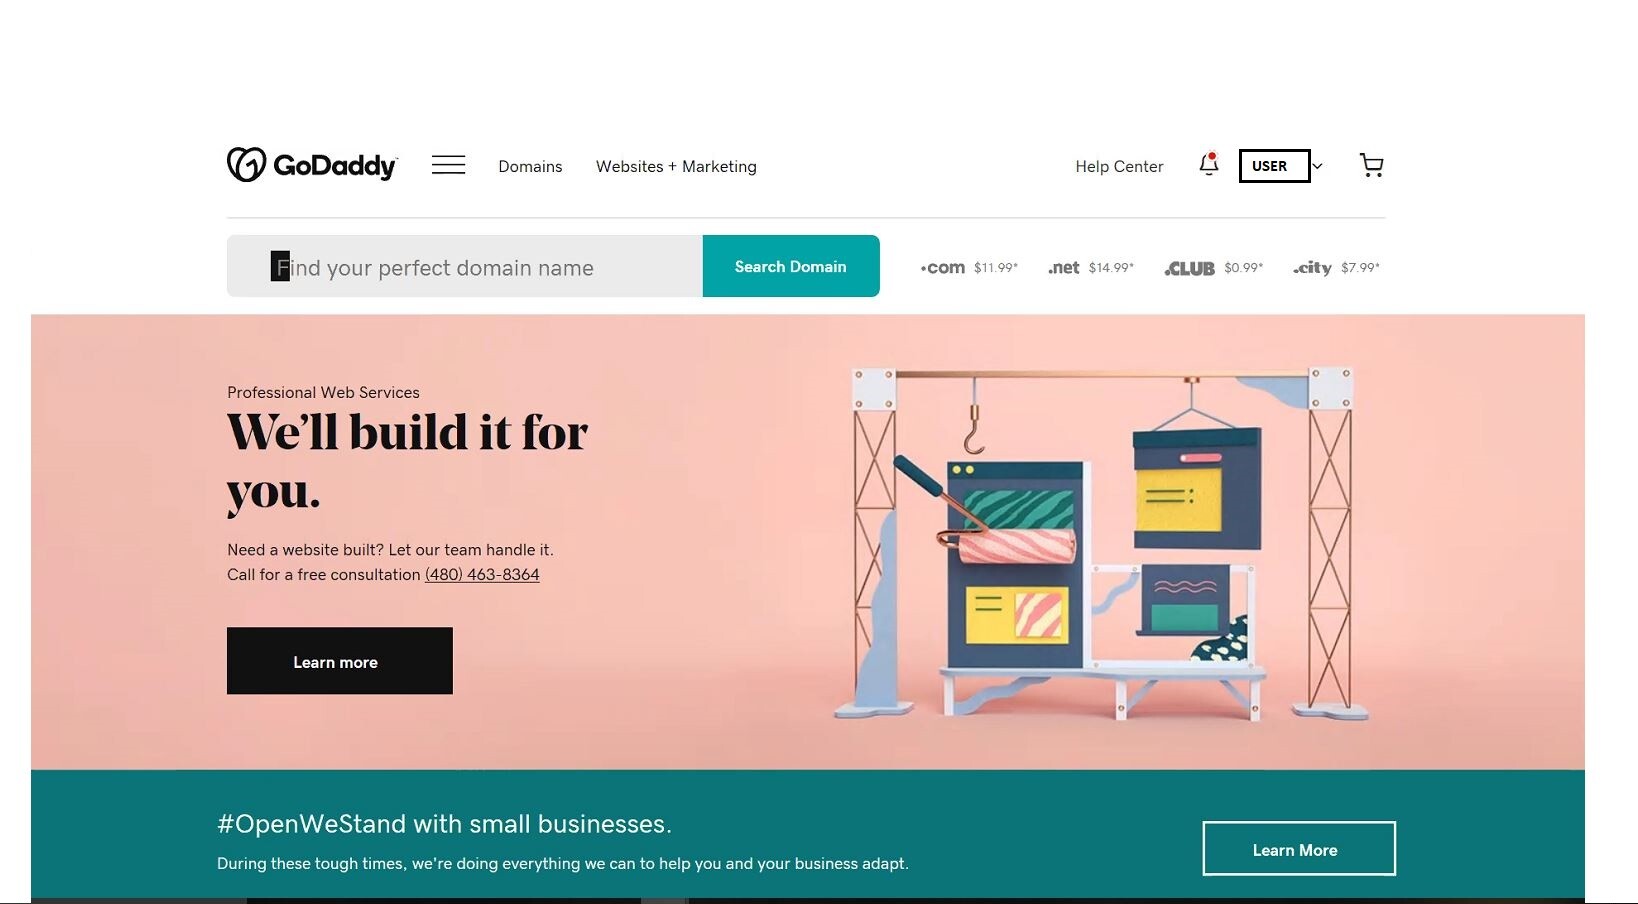
- Click on their username on the top right and select "Visit My Account"
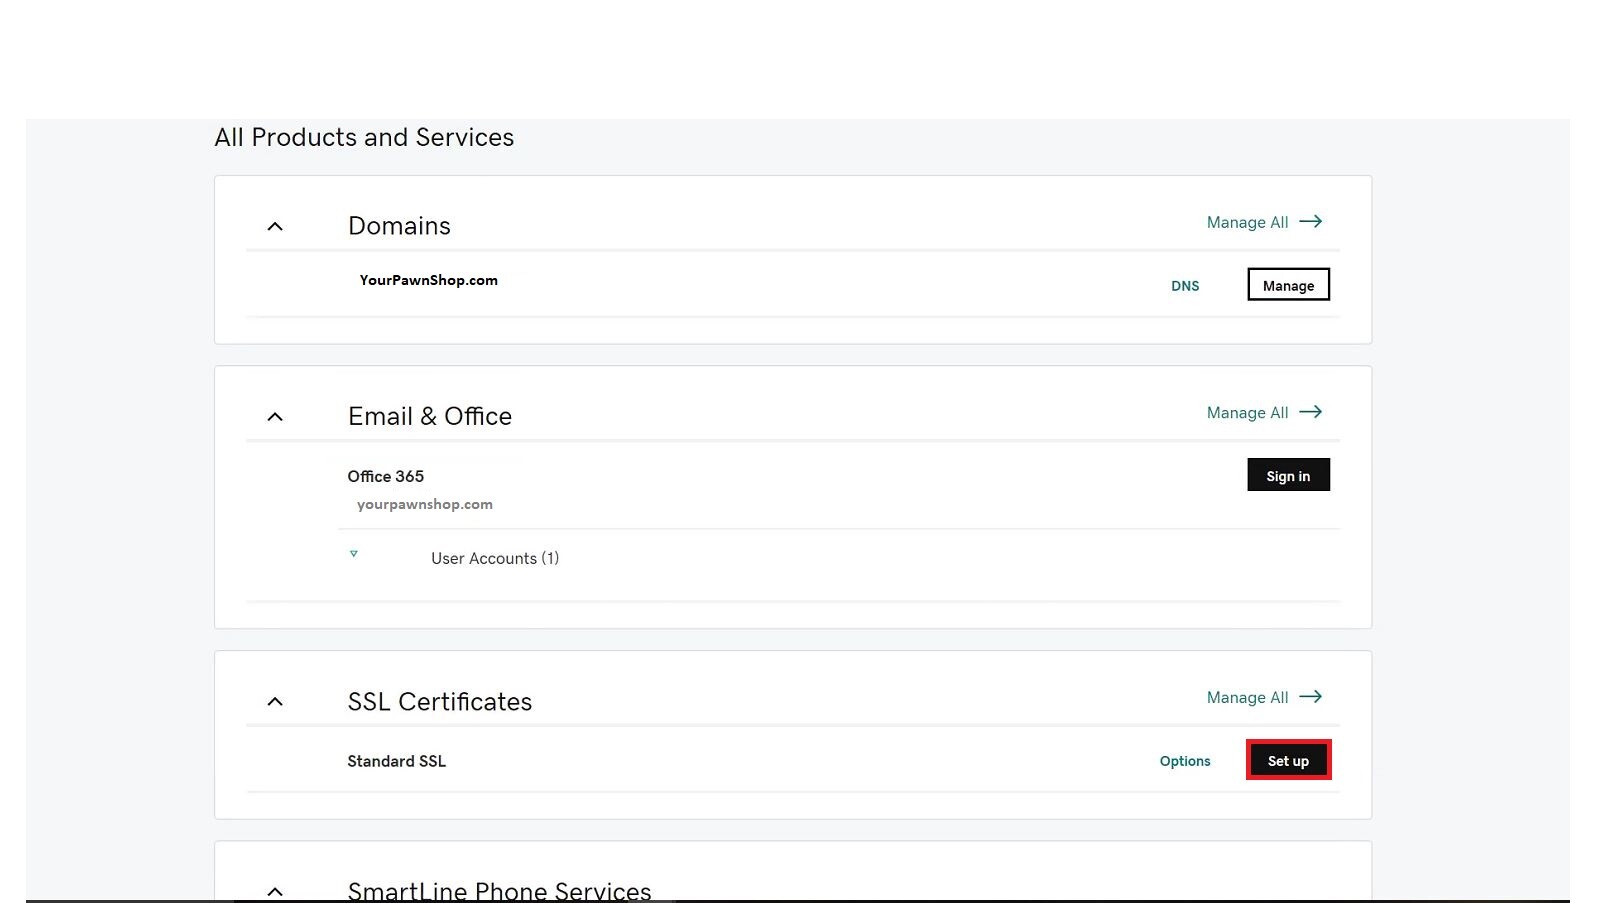
- Scroll all the way down until you see SSL Certificates, click on the Setup button to the right
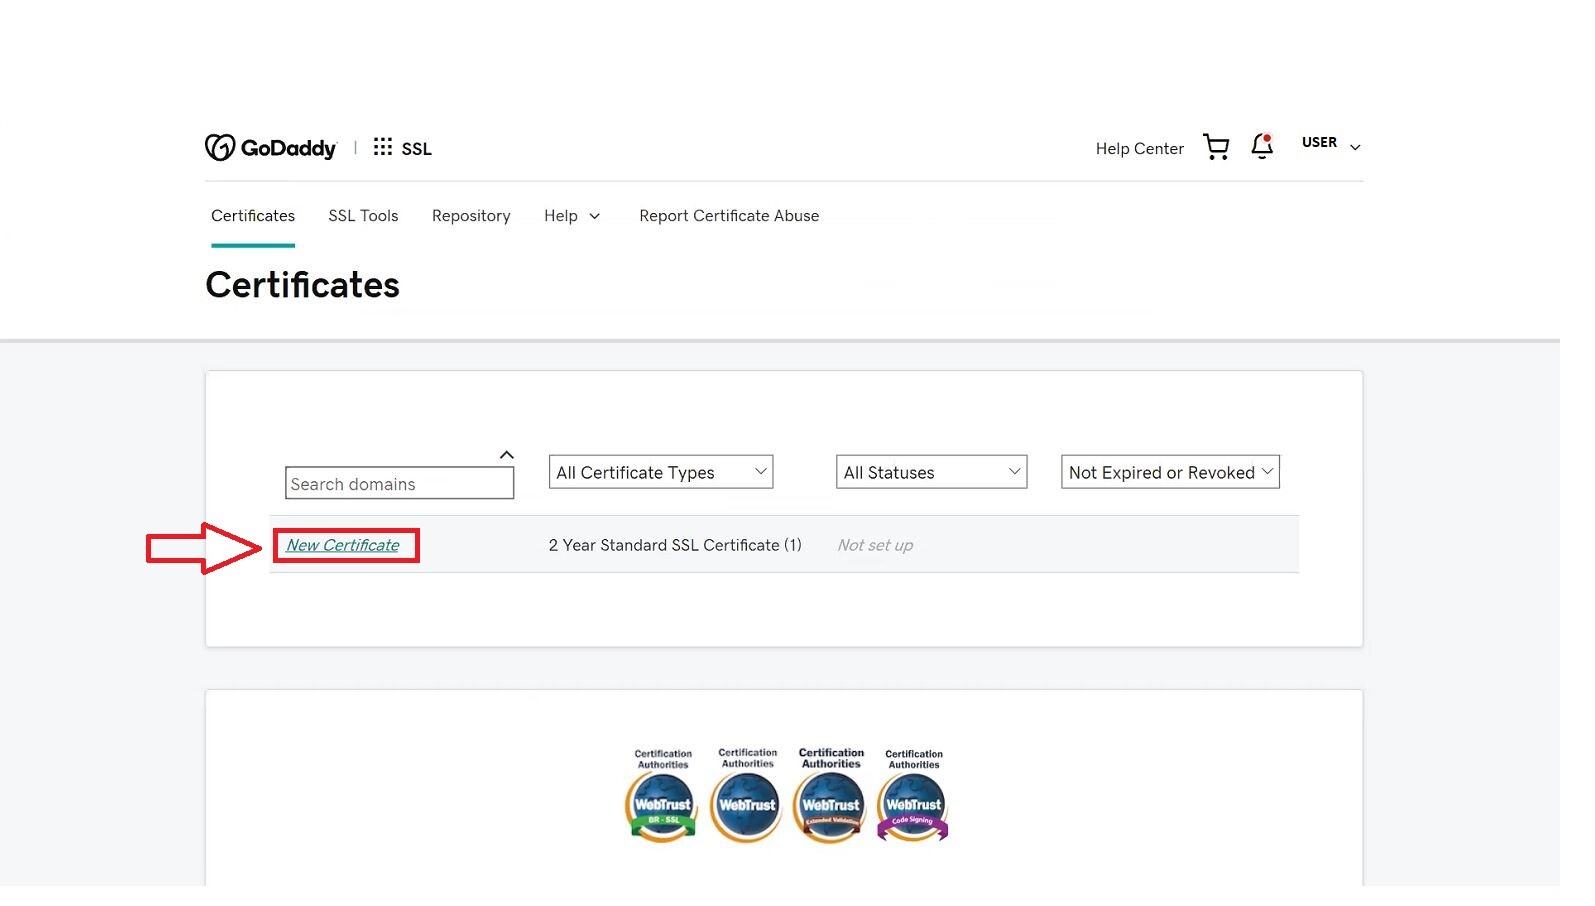
- Click on New Certificate
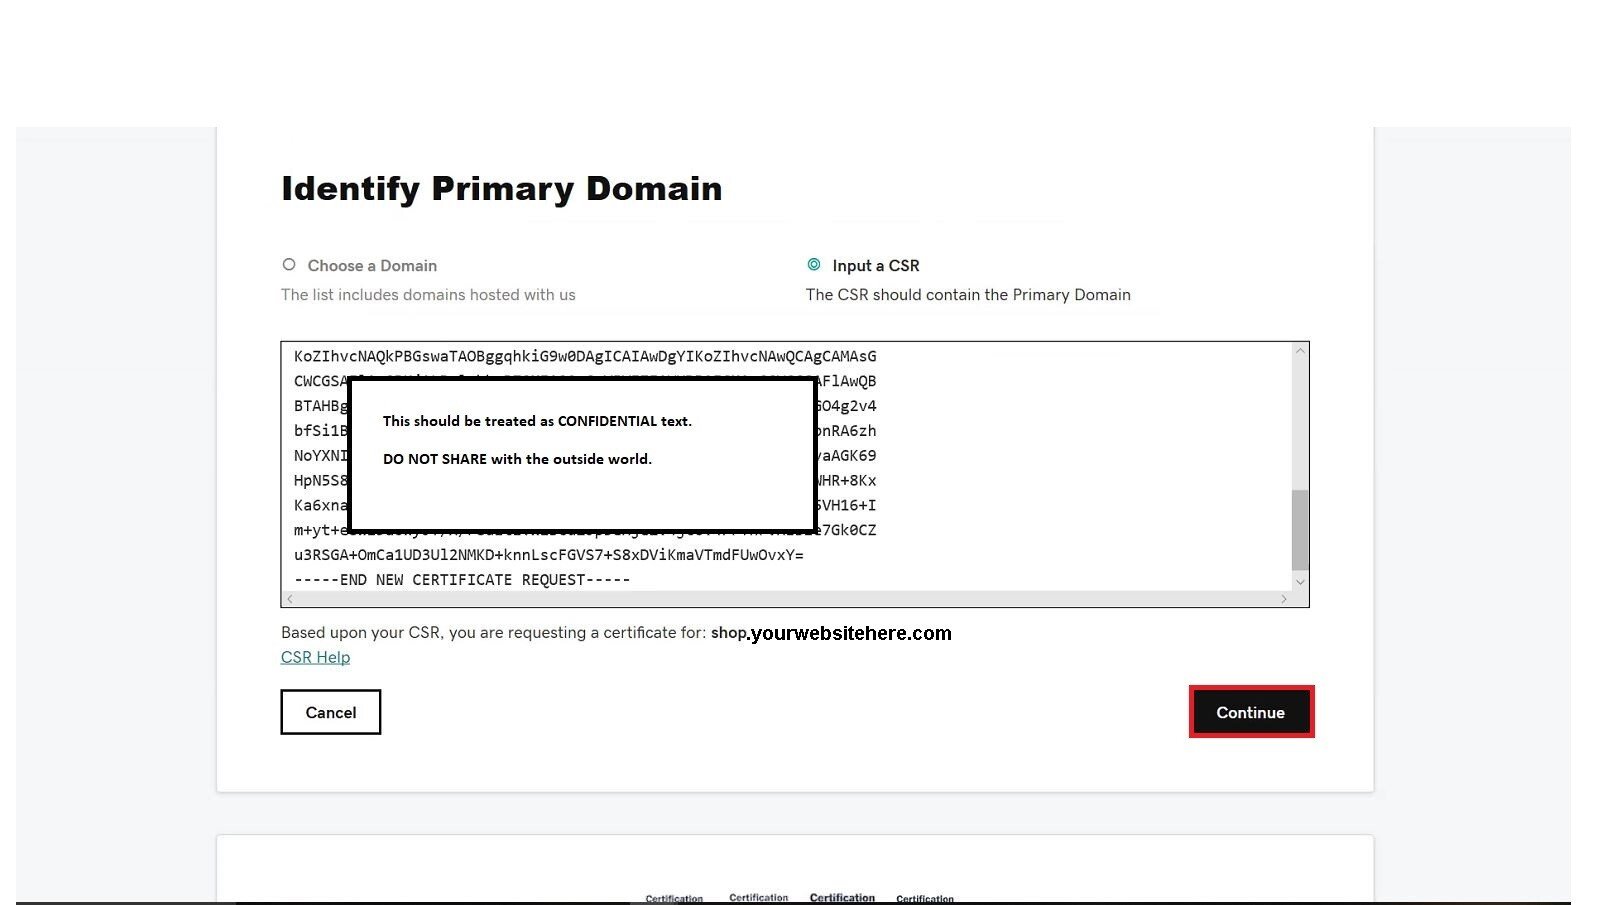
- Choose the "Input a CSR" button
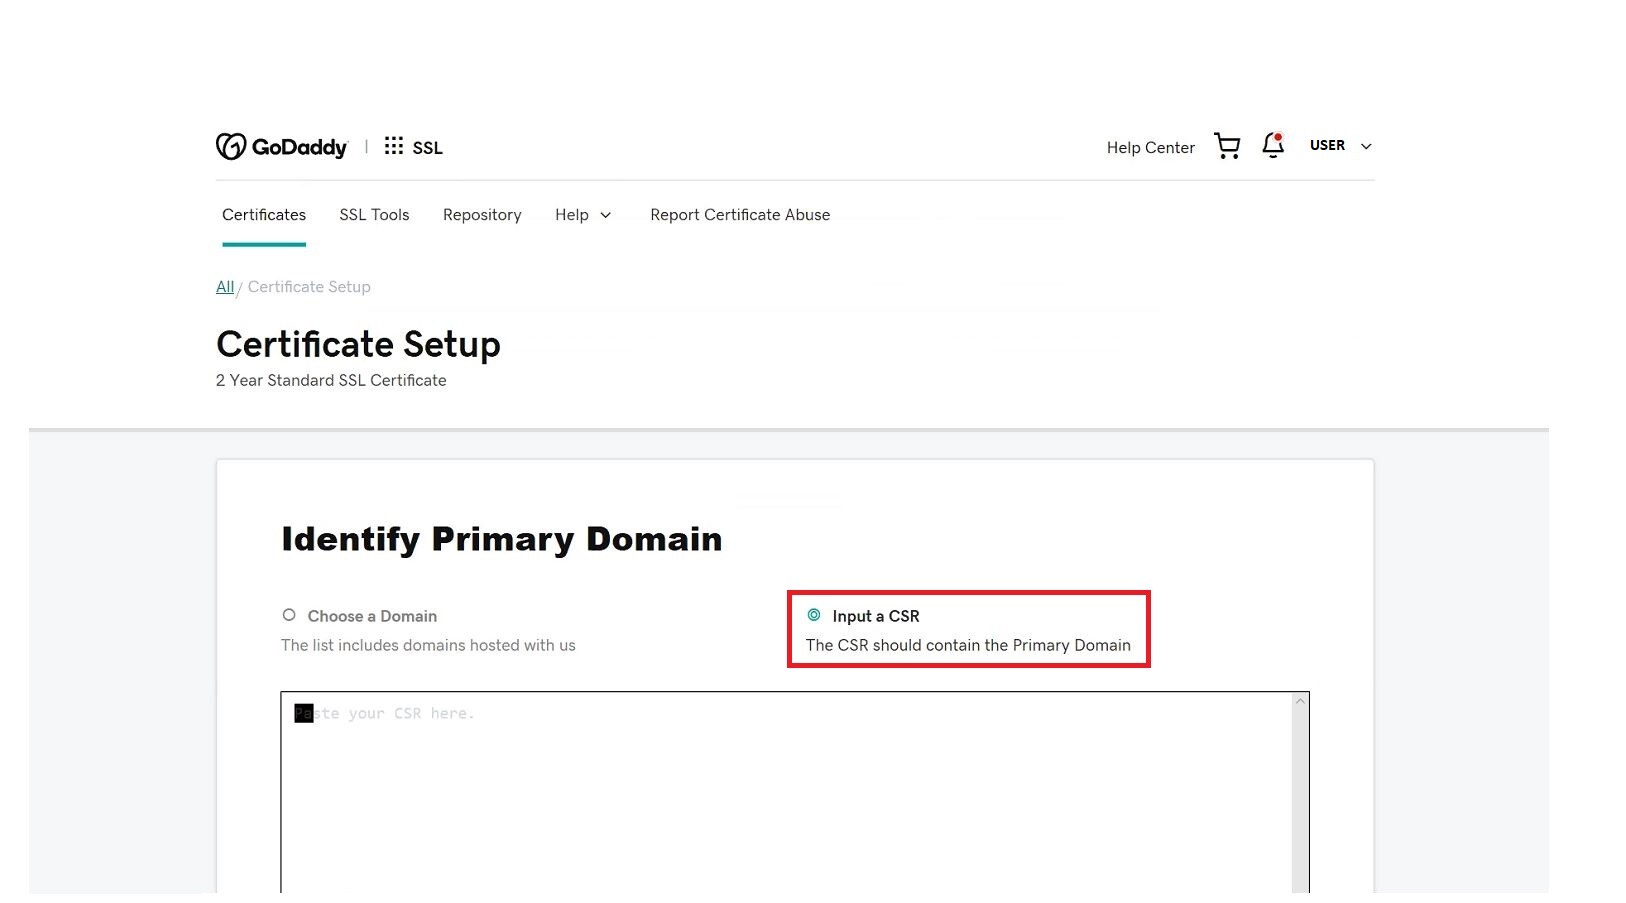
- Paste the entire CSR into the field below and click Continue.
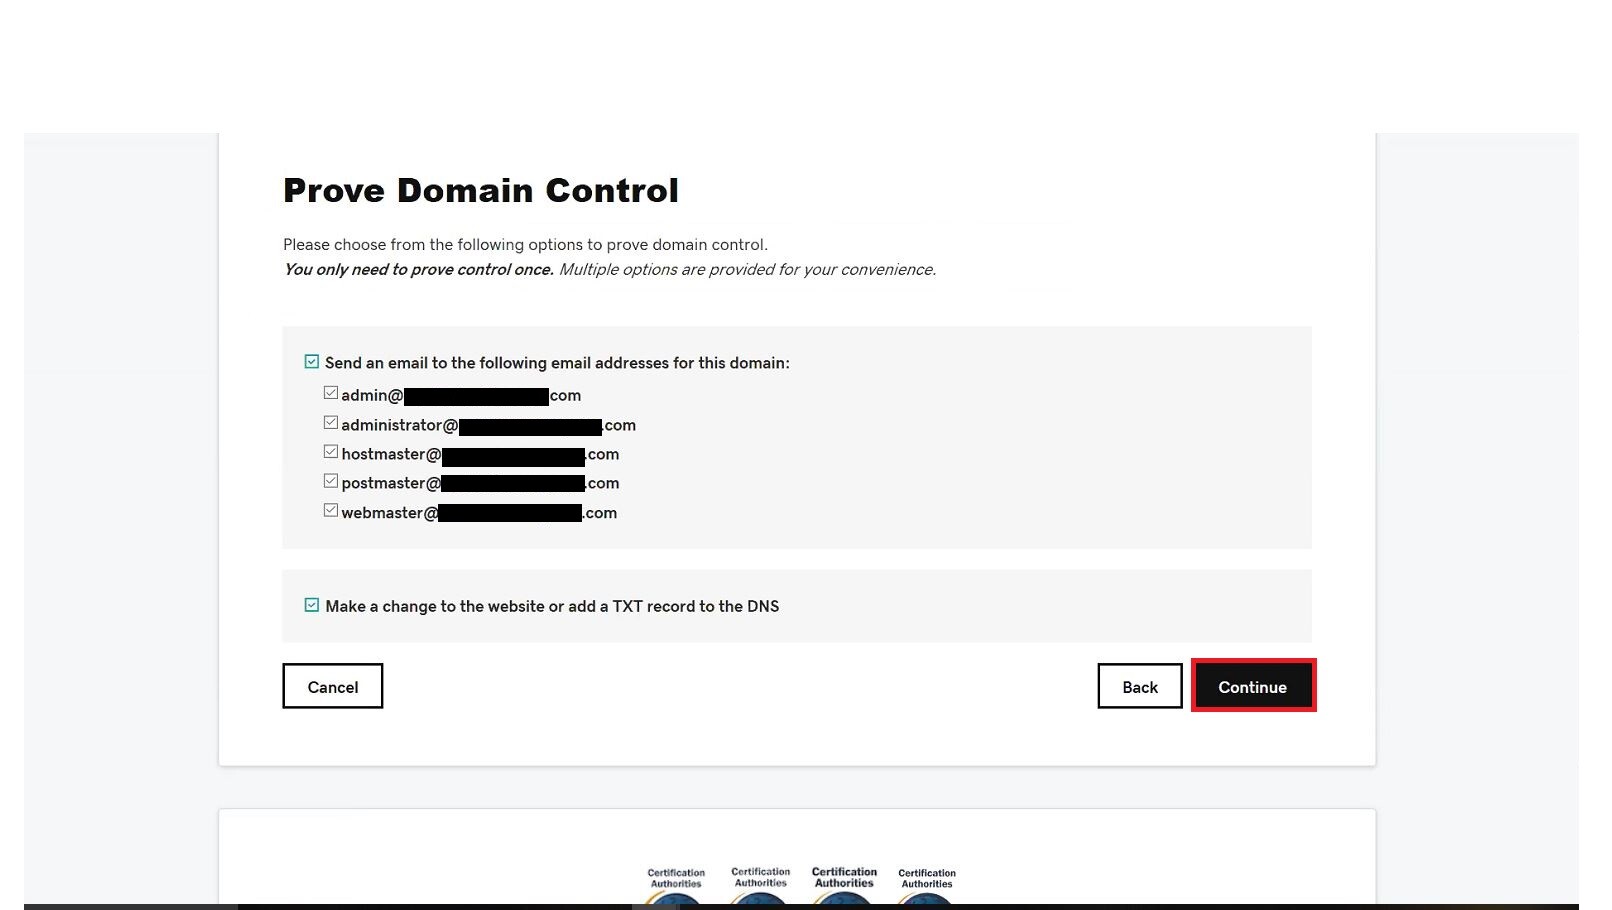
- Verify who on your domain will be getting an update that you have changed the website and whether you want to make a TXT change to the DNS and click Continue
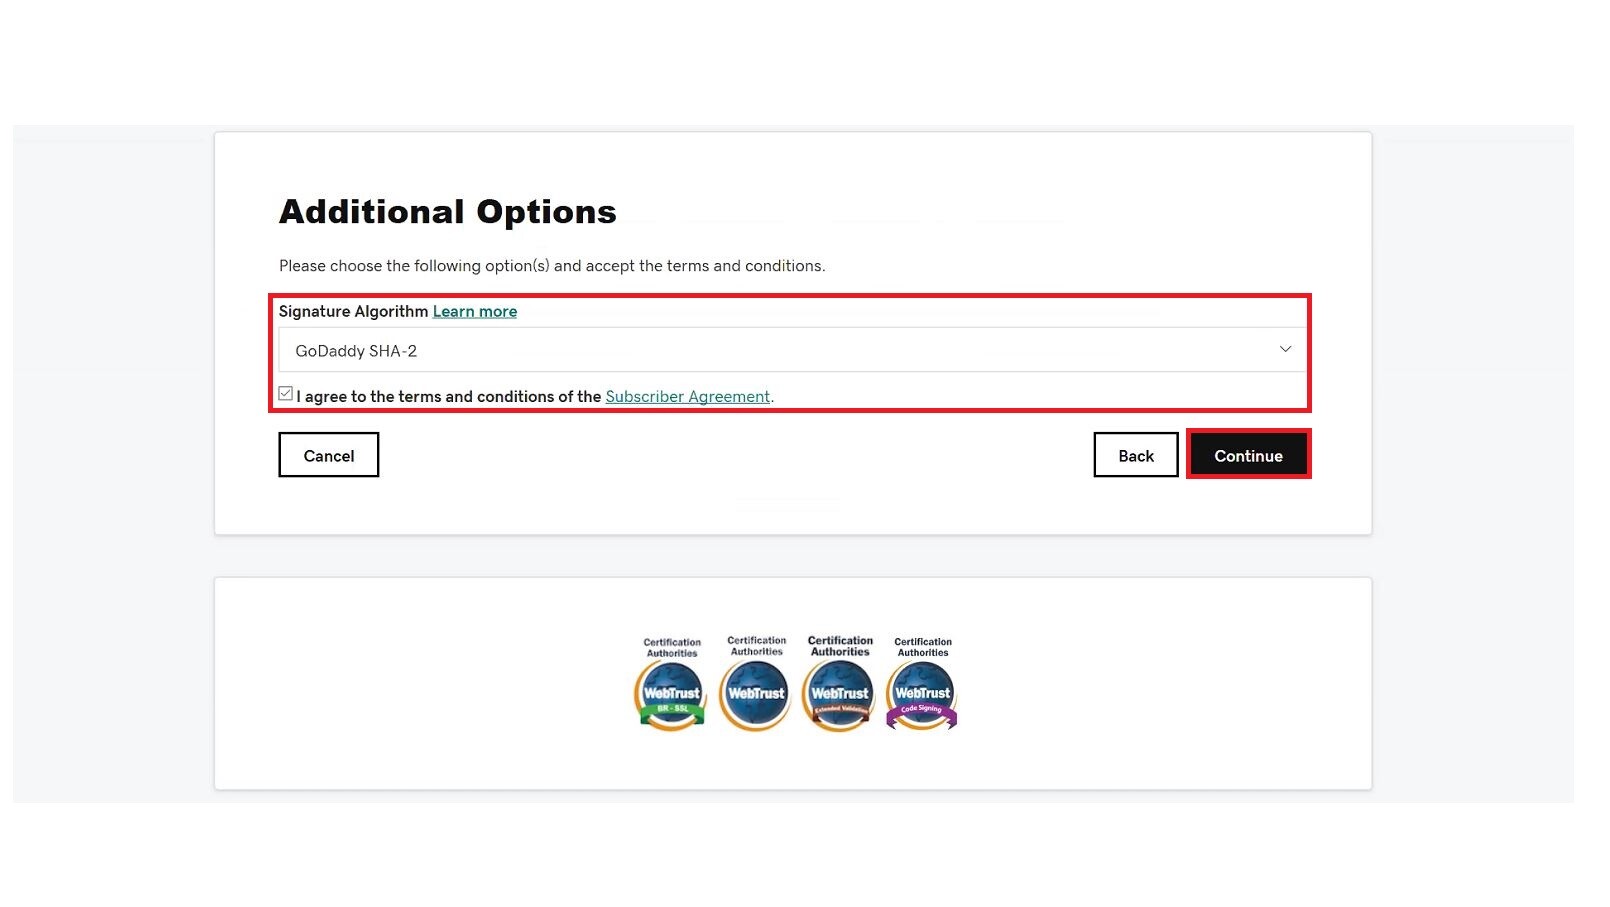
- Under Signature Algorithm choose the drop down of GoDaddy SHA-2 and click on the "I Agree to terms and conditions" box, then hit Continue
- You will be taken to a page that is Pending on Status, Validity Period and Serial Number. Stay on this page for 2-3 minutes then refresh the page.
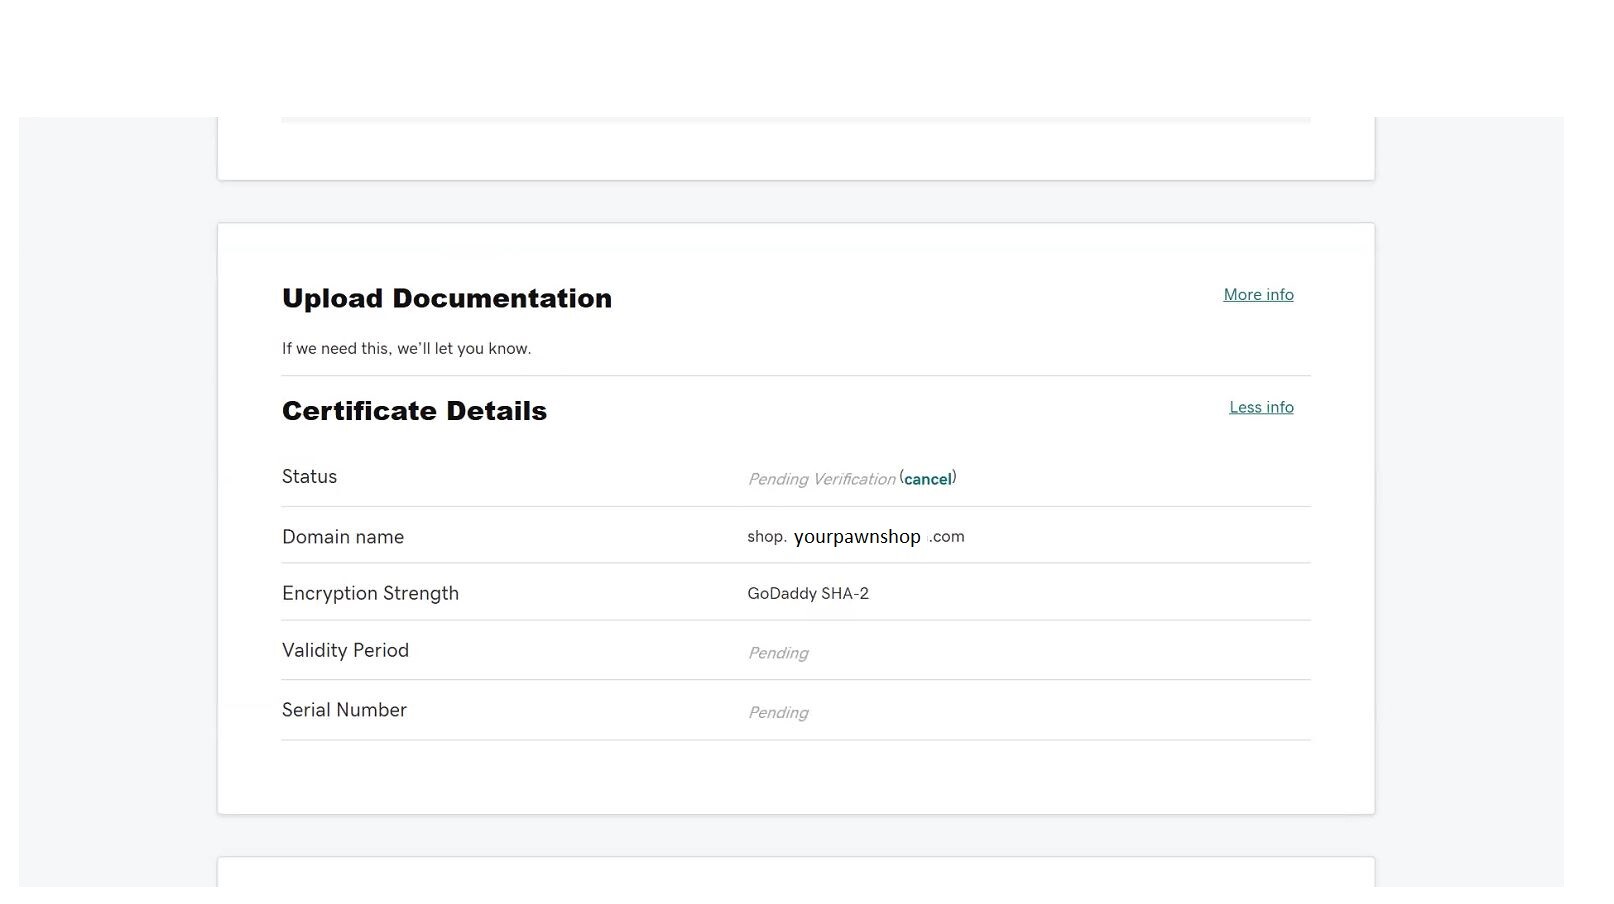
- Once refreshed you should have a completed page and be able to click a Download button at the top.
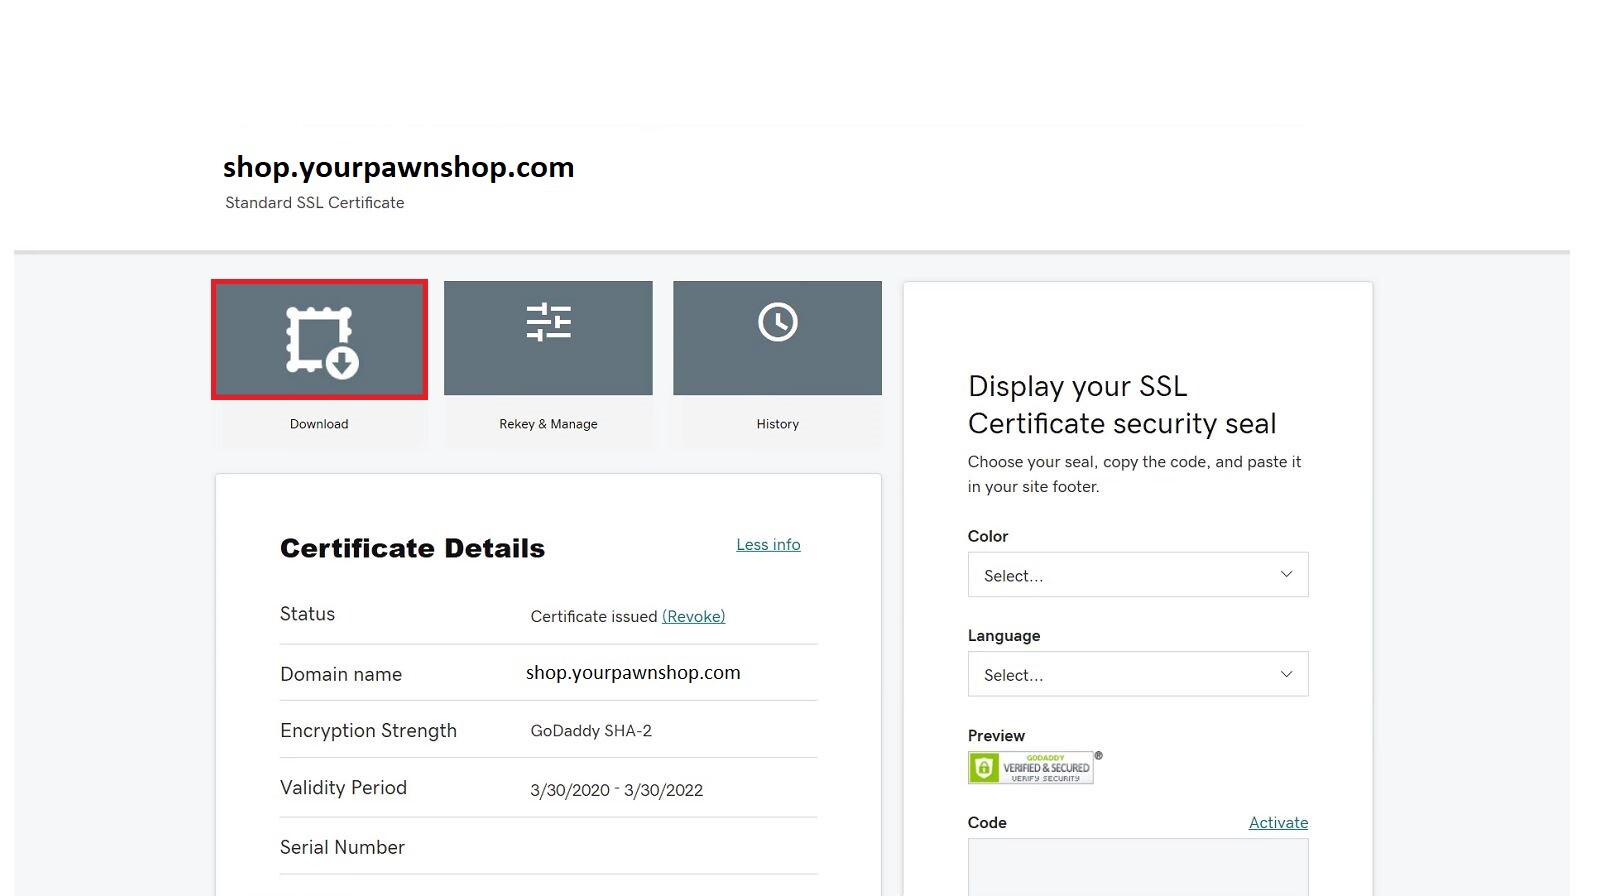
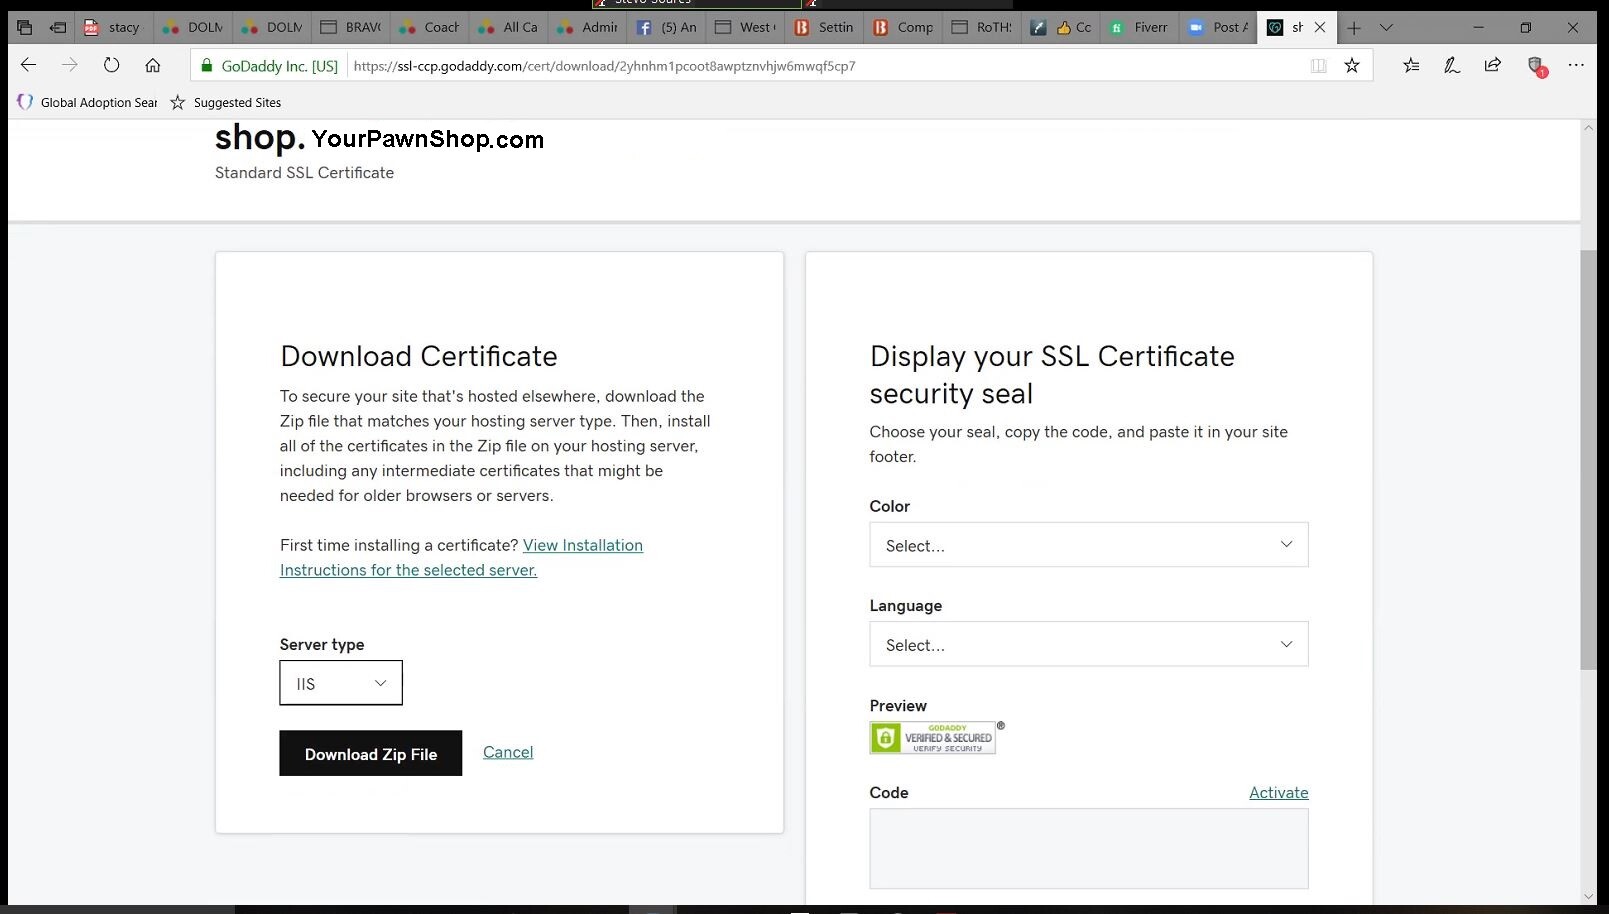
- On this page change the Server Type to be IIS and click Download Zip File
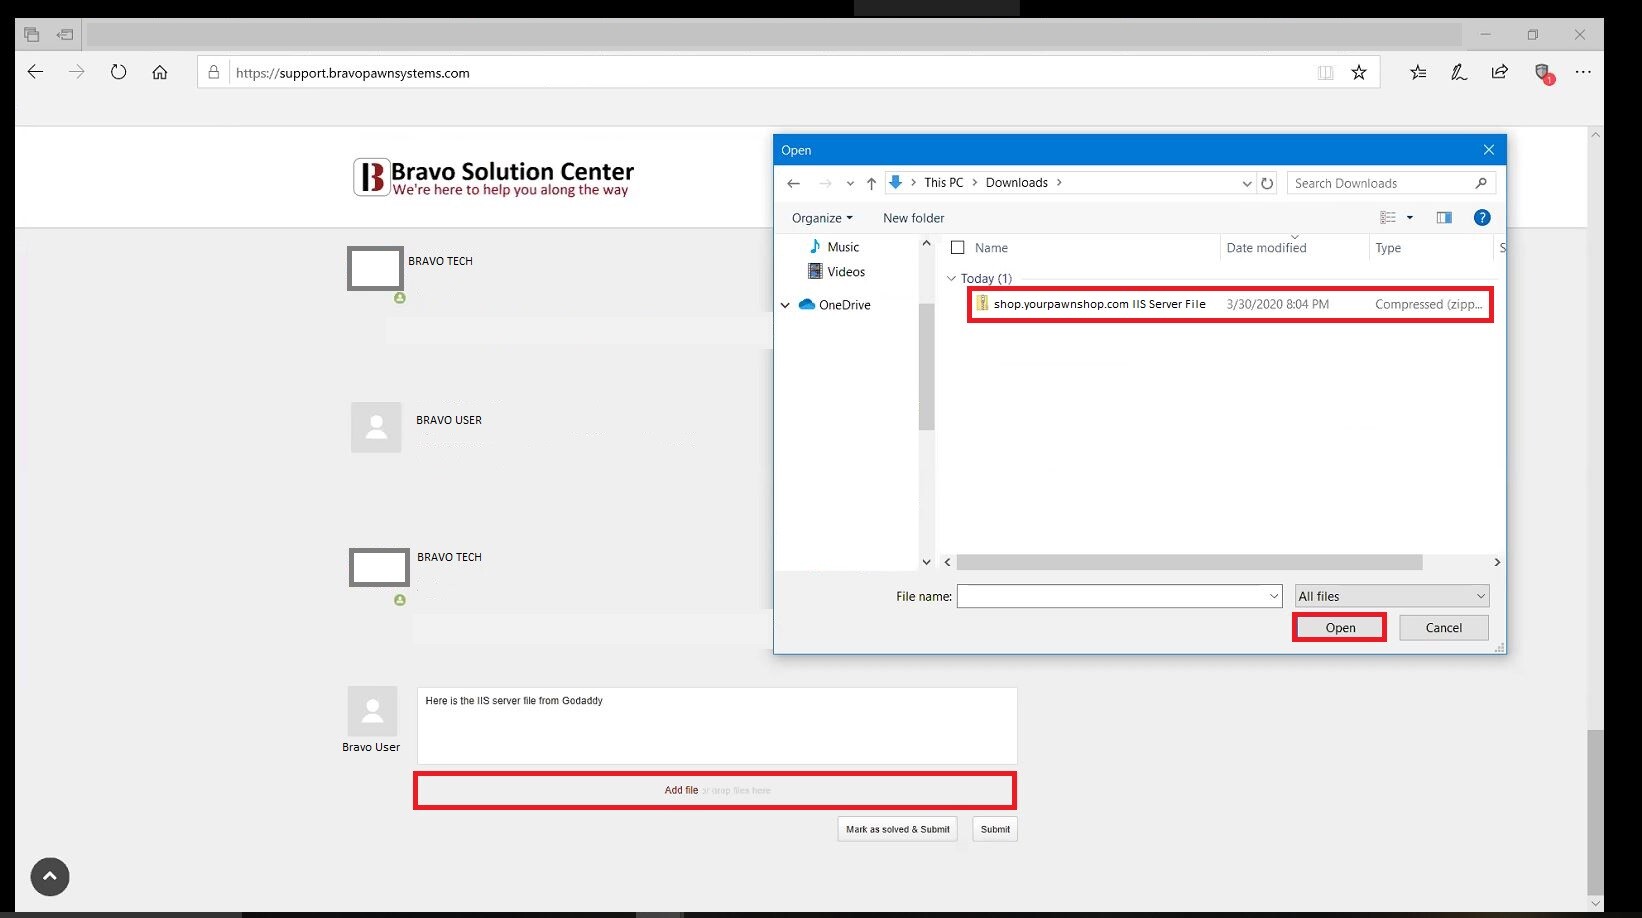
- Now you will open Bravo and go to My Help Cases on the top right. Find the case that has to deal with the SSL certificate and either find the file that downloaded or drag and drop it into the case adding text to say "IIS file" Make sure to hit Submit on the bottom of the page.
- The DEV team will then take the IIS and implement the certificate on their website, giving it the HTTPS.
https://www.godaddy.com/help/request-an-ssl-certificate-562