
Last Updated: June 2025
Table of Contents
- Quick Start: Write a Loan, Buy, or Consign
- In-Depth: Understanding the Add Item Screen and Transaction Types
Quick Start: Write a Loan, Buy, or Consign
Use these steps to quickly process general merchandise through the Add Item screen.
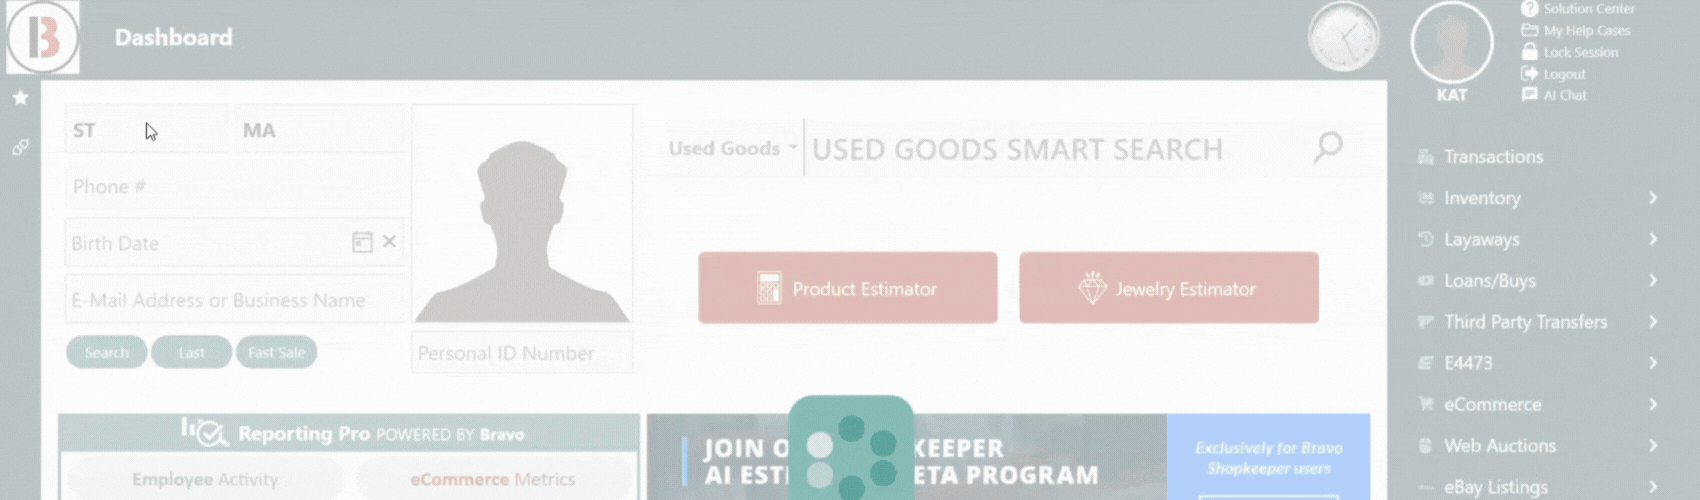
Start the Transaction
Choose one of the following methods:
- Smart Search Bar: Type the product name, select the best match from the populated options

- Product Estimator: Click Product Estimator, enter item, and click on the result that matches your item.
- Customer Search: Search and select the customer profile. On the transaction screen navigate to the right-side menu and click General Merchandise
Complete the Add Item Screen
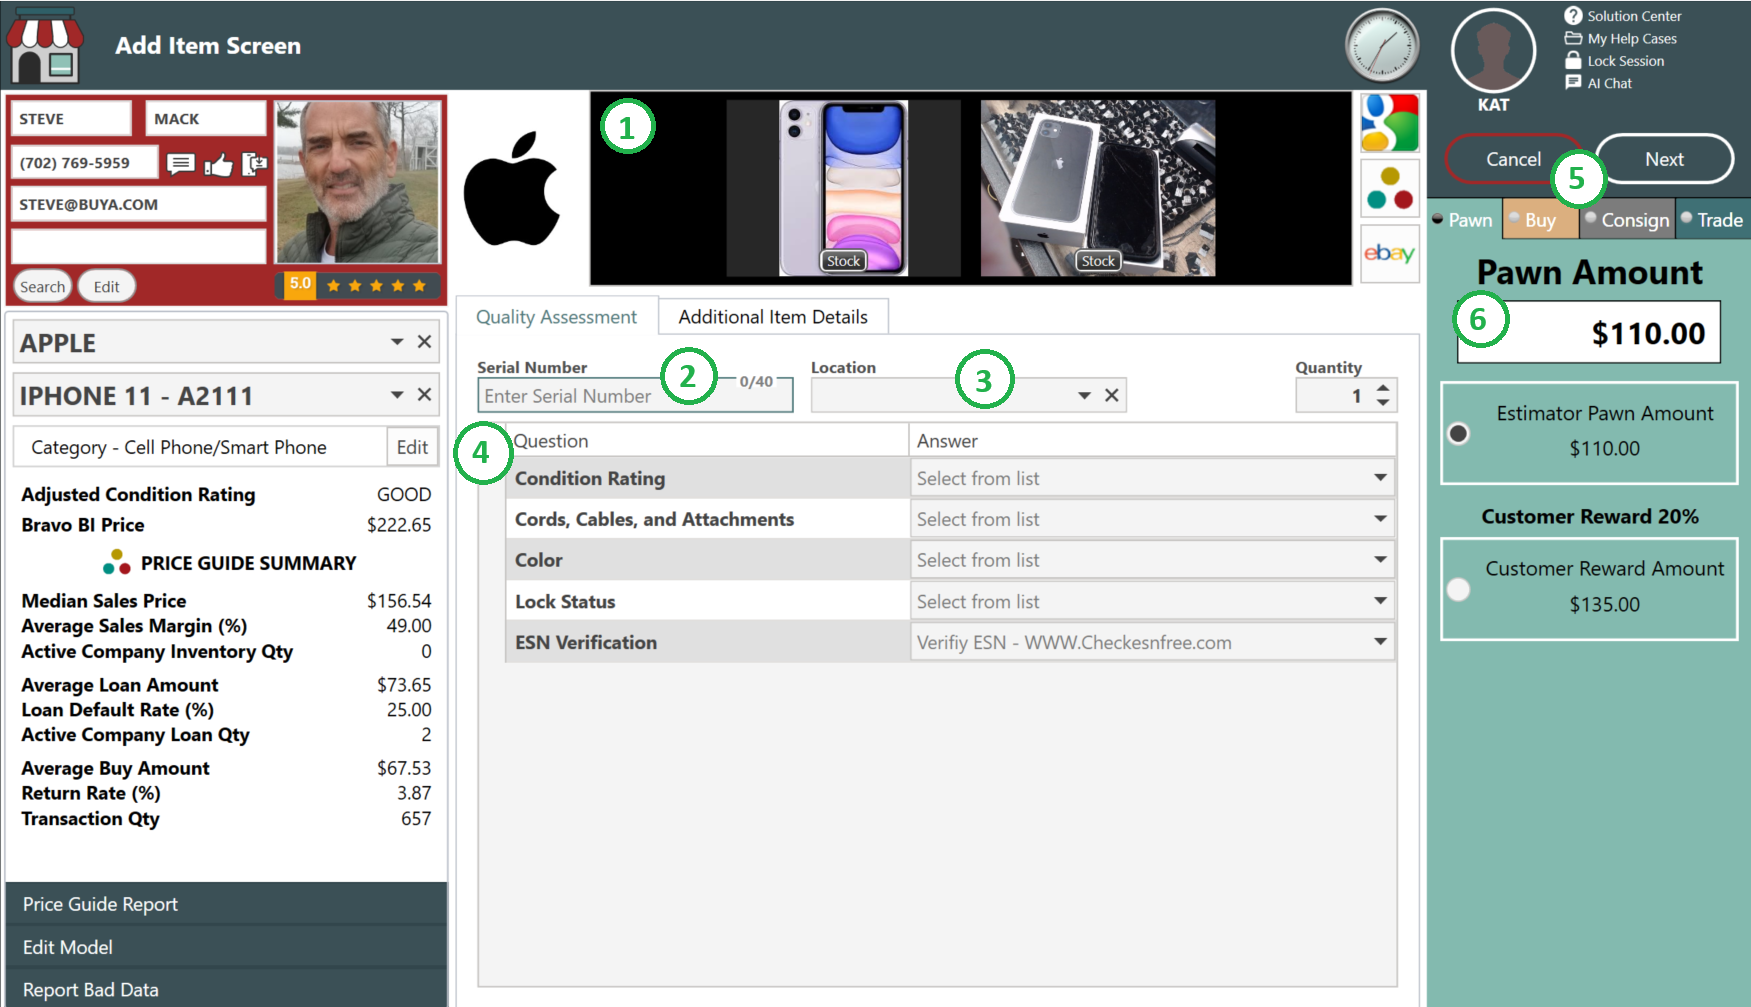
- Right-click on the stock photo to capture a Photo (optional)
- Enter the Serial Number
- Set the Item Location
- Complete Assessment Questions (if required/desired)
- Select a Transaction Type (Pawn, Buy, or Consign)
- Enter a Loan/Offer Amount
Add More to the Ticket

- Add to an existing ticket using options at the bottom
- Start a new ticket using side menu options
Finalize the Transaction
- Complete MLA Check (if required)
- Click Next to tender out the transaction
In-Depth: Understanding the Add Item Screen and Transaction Types
This section explains what each component of the Add Item screen does, how it's used, and why it matters for daily operations.
Searching for the Item
There are three methods to start item intake:
- Smart Search Bar – Typing the item name directly opens the Add Item Screen, skipping the Find Manufacturer/Model step.
- Product Estimator – Found on the dashboard; opens the Find Manufacturer/Model screen.
- General Merchandise – Accessed via the transaction screen’s side menu; also opens the Find Manufacturer/Model screen.
Bravo automatically fills in the manufacturer, model, and category based on your selection, streamlining the intake process.
✅ Why it matters: Accurate categorization improves pricing insight, inventory tracking, and reporting quality.
Find Manufacturer/Model: Intake Path Options
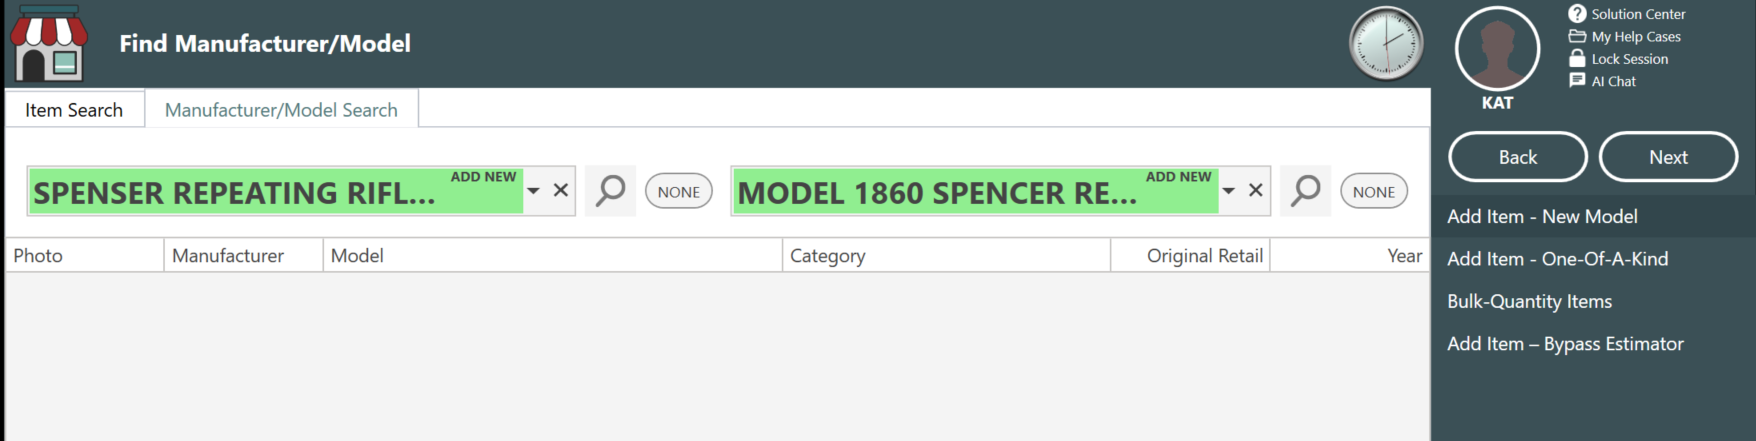
When using Find Manufacturer/Model, you can choose from four advanced intake options on the right-hand menu:
- Add Item – New Model
For common new products not in Bravo yet. A UPC is required. - Add Item – One of a Kind
Use for unique items that won’t reappear often. These are always categorized as "One of a Kind".- ⚠️ Do not use for firearms.
- Bulk-Quantity Items
Designed for items like DVDs, coins, or loose tools. Contact Bravo Support if you need one created. - Add Item – Bypass Estimator
Lets you manually input the manufacturer and model. Ideal for antique or hard-to-categorize items, including firearms that don’t have UPCs.
Price Guide Summary
The Price Guide Summary provides Bravo-wide data to help you make informed loan, buy, and pricing decisions. All metrics are aggregated across the Bravo community and do not reflect individual store data.
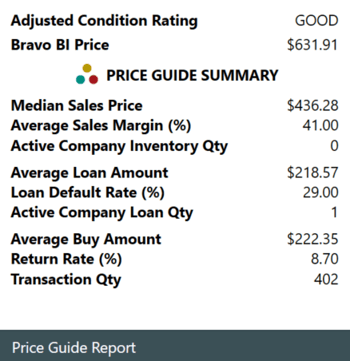
- Median Sales Price – Most common Sale amount for this item.
- Average Sales Margin – Profit margin stores usually earn when reselling.
- Active Company Inventory Qty– How many of this item are currently in your store’s inventory.
- Average Loan Amount – Average loan value across all stores.
- Loan Default Rate – Likelihood of this item defaulting on a loan.
- Active Company Loan Qty – How many are out on loan in your store right now.
- Average Buy Amount – Typical amount when the store is buying this item outright.
- Return Rate – How often this item is returned after being sold.
- Transaction Quantity (Bravo-wide) – Number of times this item has been transacted across Bravo.
💡 Use this data to assess risk, guide offer amounts, and make smarter pricing decisions.
Add-on Metal & Stones
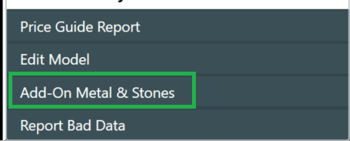
This button appears in the Add Item screen for specific categories:
- Watches
- Silverware
- Gold or Silver Coins
Located just below the Price Guide Summary, the Add-on Metal & Stones button allows you to attach:
- Metal details – Type and weight of gold, silver, or other precious metals
- Stone details – Quantity and attributes of diamonds or other gemstones
⚠️ You must complete all required item fields (e.g., serial number, assessments) before using this feature.
🧾 These items remain in the General Merchandise category but can be added to the Scrap List for refining if needed later.
Image Capture Options
The Add Item screen displays a stock image by default. Replace it by right-clicking on the Stock item. You can add image by:
- Taking a photo with your Webcam
- Paste from Clipboard
- Browse Local Files
- Drag and Drop image into the area
🖼️ Including real photos supports ecommerce listings, internal accuracy, and customer transparency.
Quick Access Marketplaces
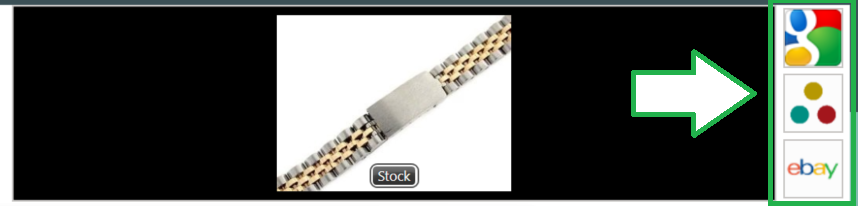
To the Left of the Image, the marketplace icons open a browser tab with a similar product on:
- eBay
- Buya Marketplace
🔍 Why it helps: Great for confirming price trends, checking condition comparisons, or researching similar listings.
Assessment Questions
In this section, you’ll enter the item’s serial number, assign a location, and complete assessment questions as configured by your store.
Assessment questions help evaluate and document:
- Item condition (e.g., like new, worn, broken)
- Functionality (e.g., working vs. non-working)
- Presence of accessories (e.g., charger, remote, original packaging)
They also auto-generate item descriptions when the item is expired and added to inventory, which is especially useful for ecommerce listings.
Your store can configure these questions as:
- Optional – Can be skipped
- Required – Must be completed to proceed
🎯 Pro Tip: Required questions help standardize evaluations across your team and support consistent pricing, loans, and resale listings.
Additional Item Details Tab
There are three optional fields to capture more item-specific info:
- Additional Information / Damages
Displays on the customer’s pawn ticket. Use for flaws, missing parts, or accessories. - Owner Applied Number
Records unique identifying marks (e.g., initials, stickers) when no serial number exists. - Notes & Passwords
Internal-use only. Great for electronics passwords or special handling notes.
Transaction Type Tabs
Based on your store’s settings, you'll see one or more of the following:
- Pawn – A secured loan using the item as collateral.
- Buy – Purchase the item outright.
- Consign – Sell the item on behalf of the customer.
If you don’t offer a transaction type (e.g., Pawn), it won’t appear.
Consignment Tab Options

When Consign is selected, additional configuration fields appear:
Payout Method:
- Percentage Split
- Store %: Commission kept by the store
- Consignor %: Customer’s share of sale proceeds
- Minimum Price: Lowest sale price accepted
- Minimum Net to Consignor: Customer’s payout if item sells for the minimum
- Fixed Amount
- Set a guaranteed payout to the customer, regardless of sale price
Timing & Pricing:
- Term – This sets how long the consignment agreement will be active before the item needs to be returned to the customer. You can adjust the number of days as needed. When you change the term, Bravo will automatically update the Return By Date to match.
- Return By Date – This is the specific day the consignment ends. Once this date is reached, the item should either be returned to the consignor or renewed. If you manually update this date, Bravo will recalculate the term based on the new return date.
- MSRP – The Manufacturer’s Suggested Retail Price. This is the original retail value of the item when new. It’s used for reference only and doesn’t impact the consignment payout directly, but it can help justify pricing when selling to customers.
- Price – This is what you plan to sell the item for in-store or online. When using a percentage split payout, this price can be higher than the minimum price to account for store commission.
💡 Adjust all consignment settings as needed based on the agreement with the customer.