
The first part of this set up will need to happen with a bravo technician.
You will need to follow up with the bravo technician to set up the DNS record or follow this article here
Once the DNS record is setup then you will need to set up the SSL security for the site. To do this reference this following article here .
Skip ahead to the section you want to cover here:
Once all of that is complete then you will need to work with a Bravo tech to set your administrative access email up. This process involves you creating a standard user account on BUYA.com. You will then need to report that email address to the bravo tech assisting you with this set up process. They will get that email added as the admin account for the site itself.
This email CANNOT be tied to Bravo in any way. You will receive an error if this is attempted.
Once all of this has been completed you will be able to navigate to your site and begin to login.
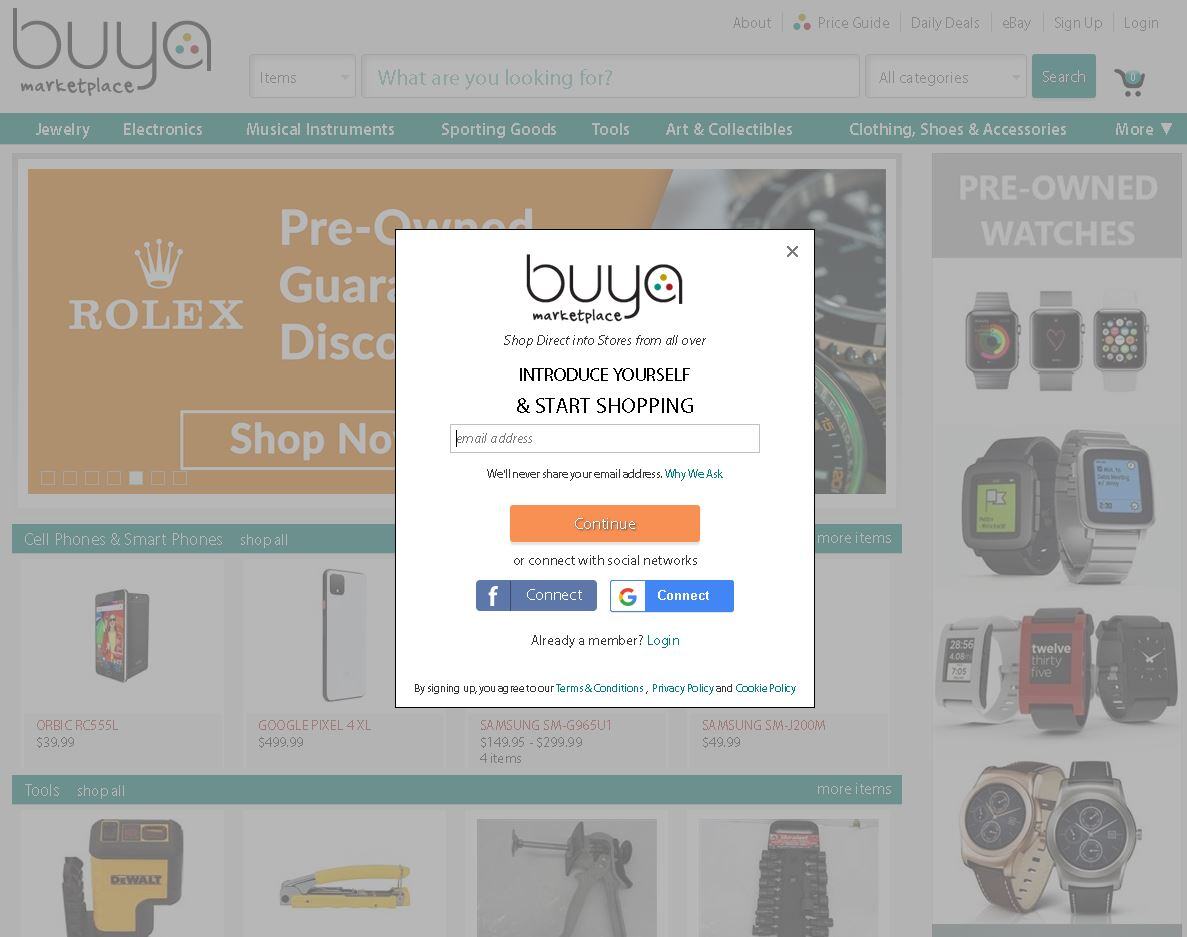
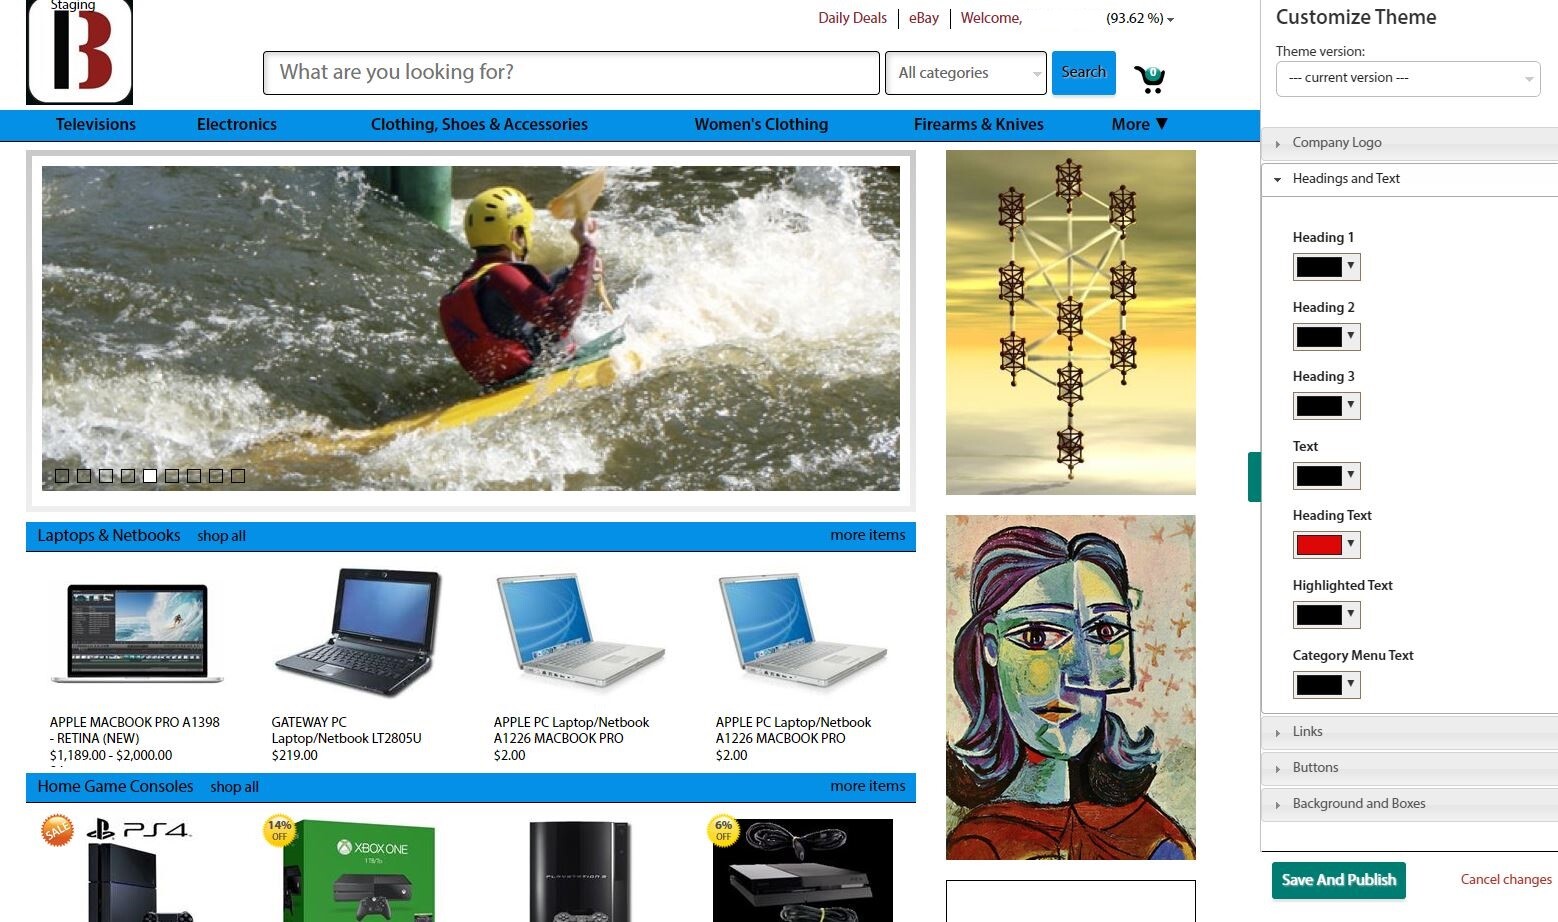
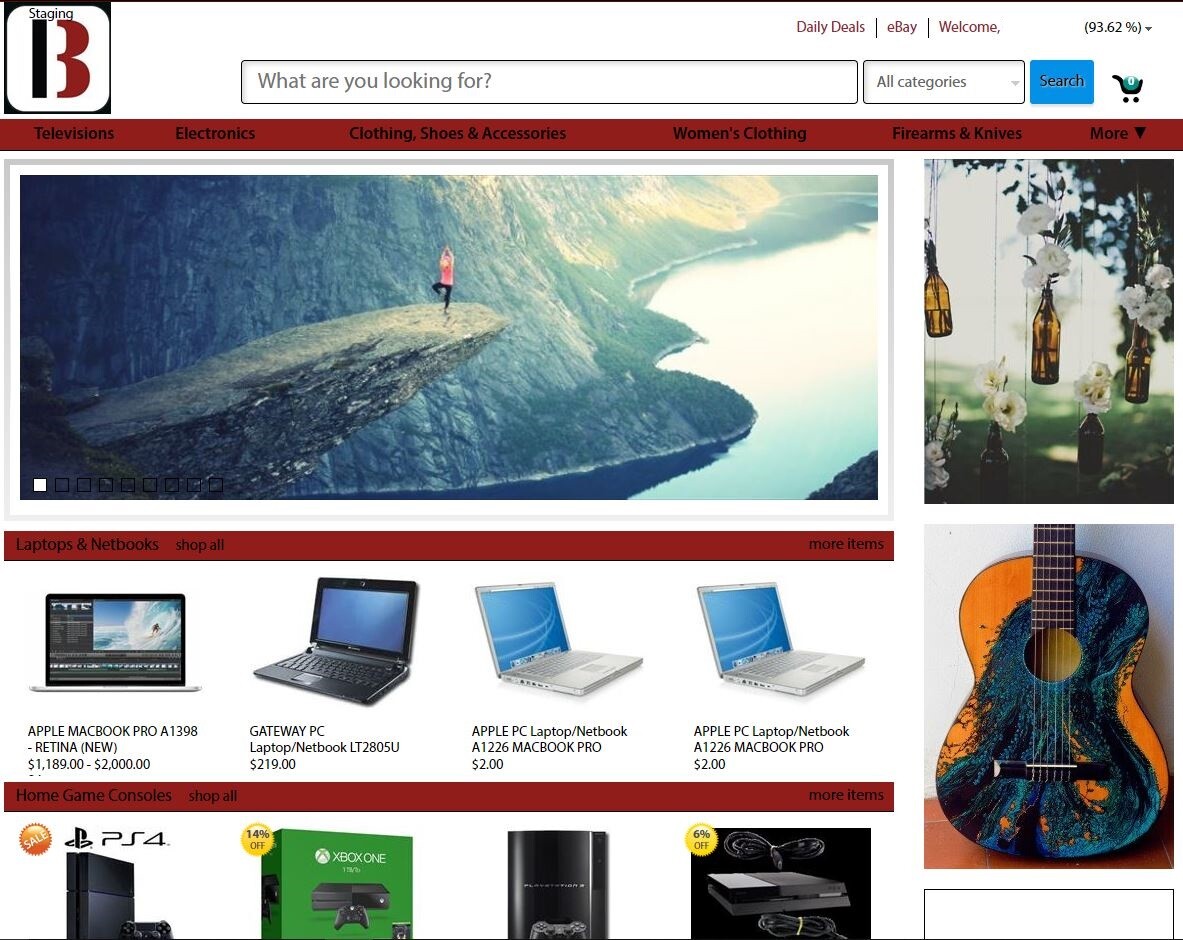
The first time you visit your site it will look like a blank version of BUYA. It will have the buya logo and all the buya colors. It will be your job to upload your logo and fine tune the color pallets of all the boxes borders and text.
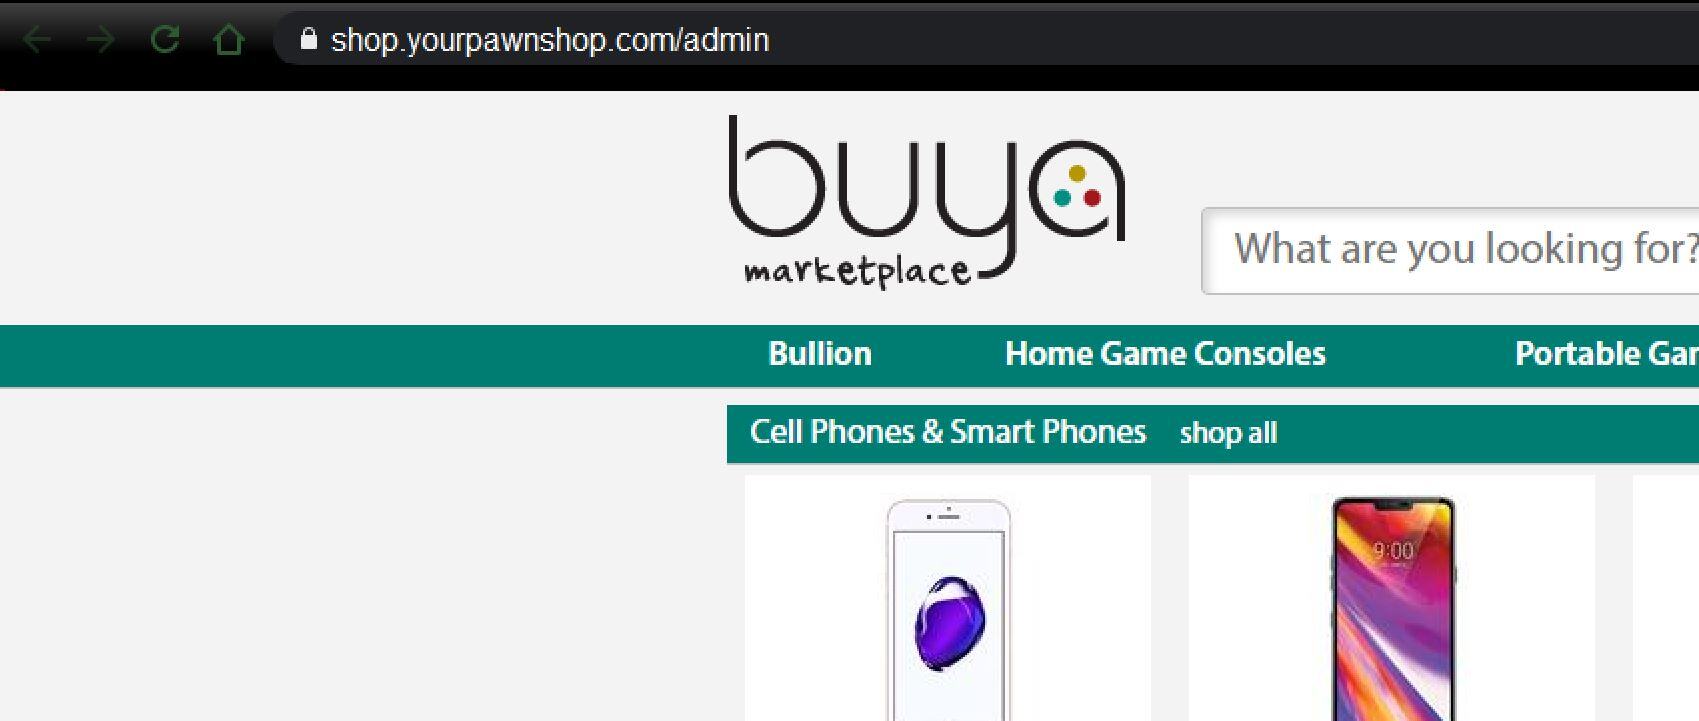
In order to log into your branded site as an administrator you will need to type in your site name and then add “/admin” after the URL. That looks like this:
THEME
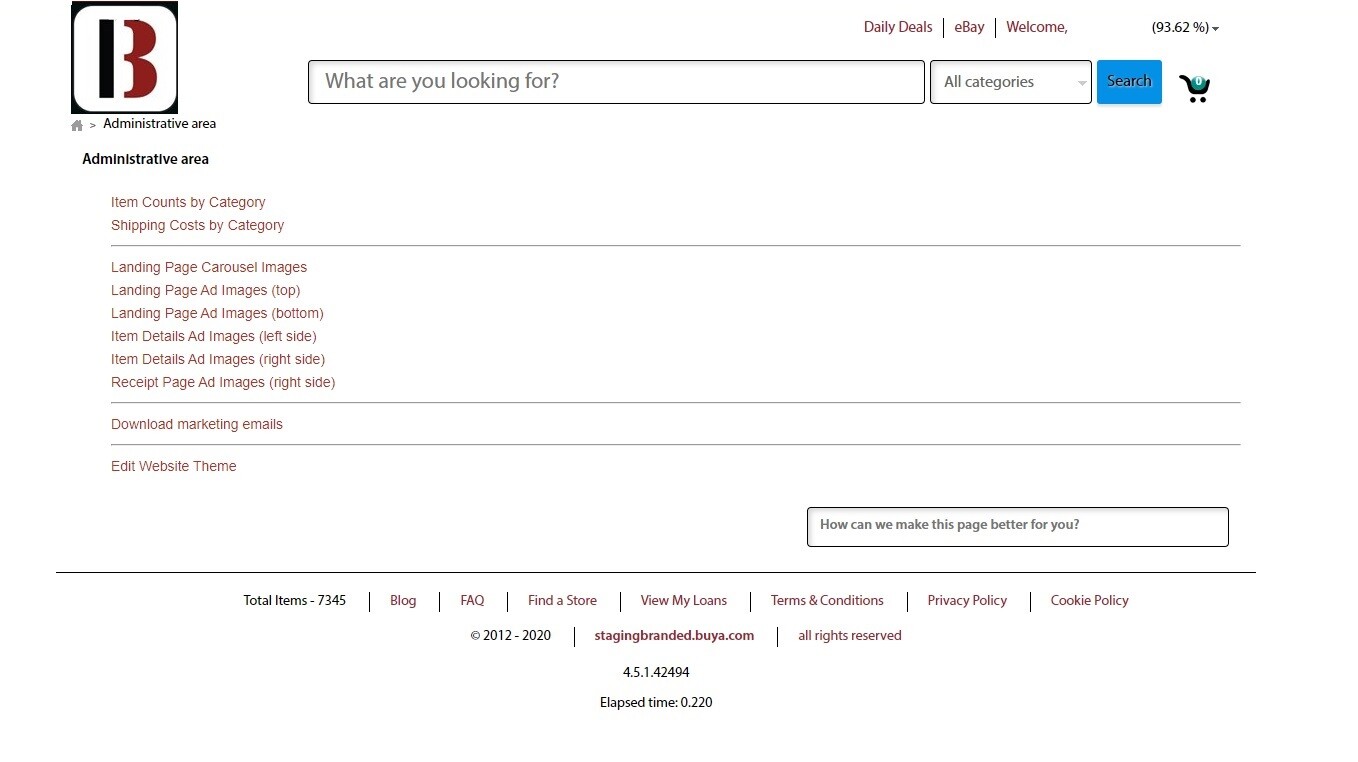
Once you log in you will see the administrative console. From here you can choose different tasks to perform. Such as editing the site or uploading your custom ad images.
For now, let’s dive in and begin to edit the site. To do this click Edit Website Theme.
Now before you get too far into editing the site, try and hold off until enough items have populated to be able to totally fill out the home screen. This will make seeing the changes you make in real time easier as you will actually see the items change right there on the spot. Go back into the Admin section, and click Edit Website Theme you will be able to see the home screen alongside of the customization panel on the right.
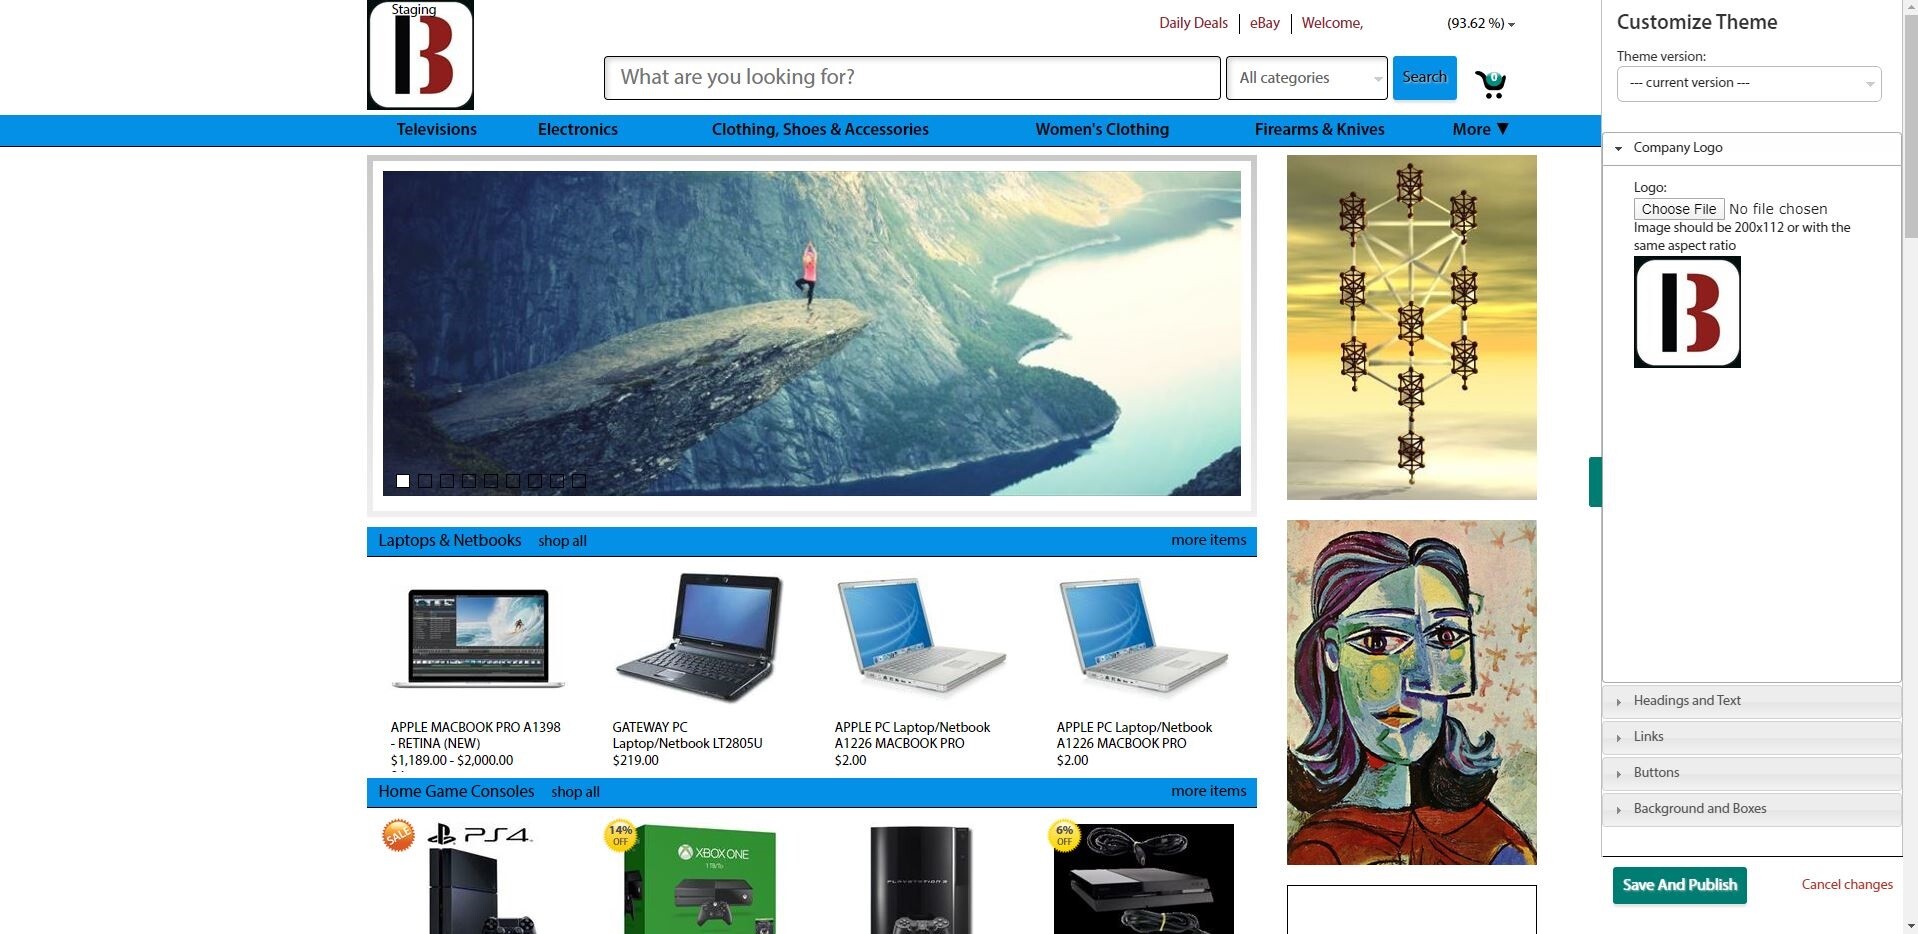
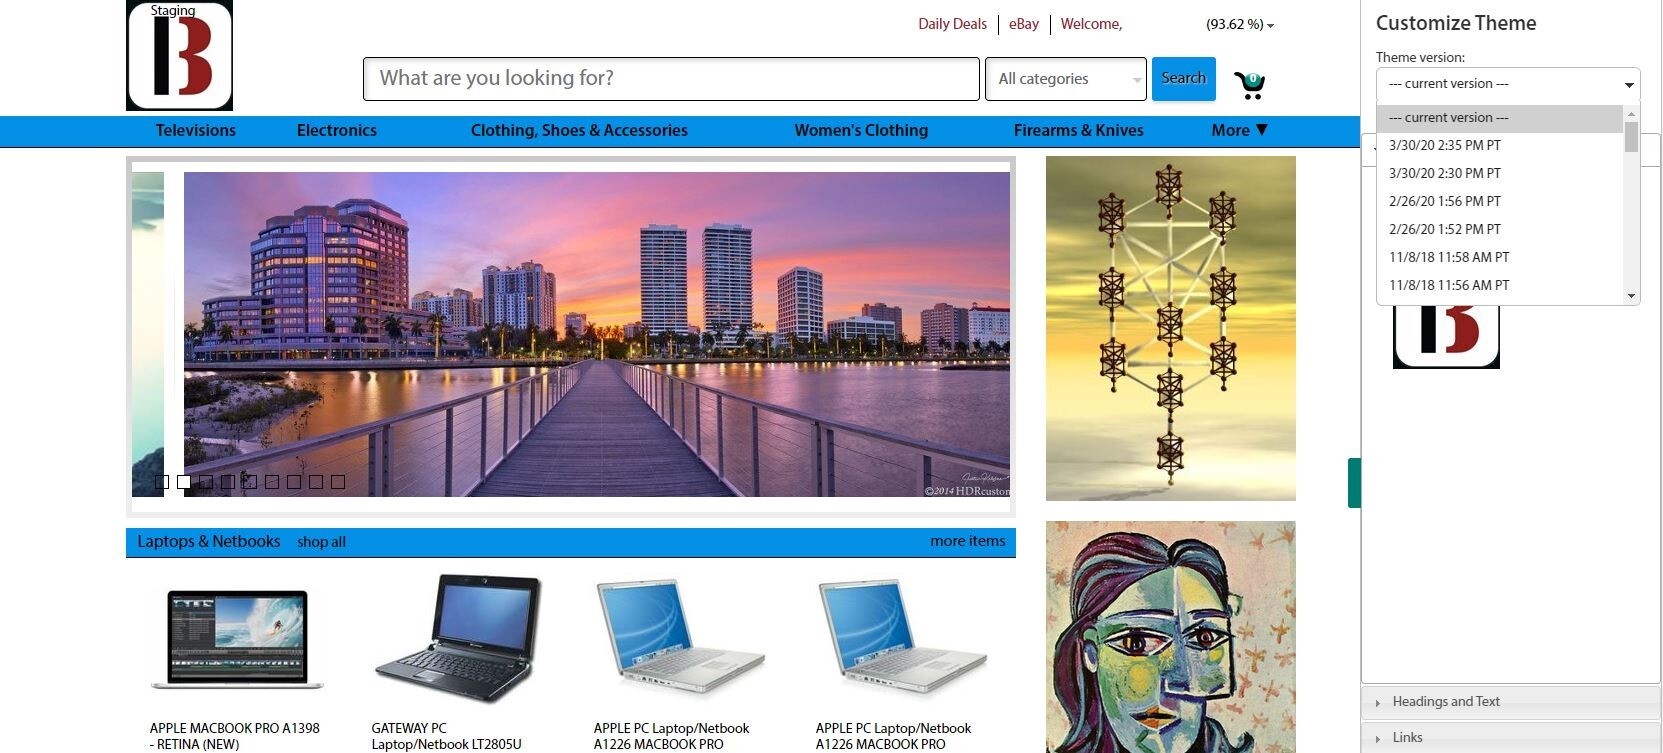
The first thing you will see below the CUSTOMIZE THEME tittle is the THEME VERSION drop down. Every single time you publish a change your site will save a theme version. So, if you change the site and want to revert to a previous state in the future you can select the previous state from the drop down and immediately revert back to that published state.
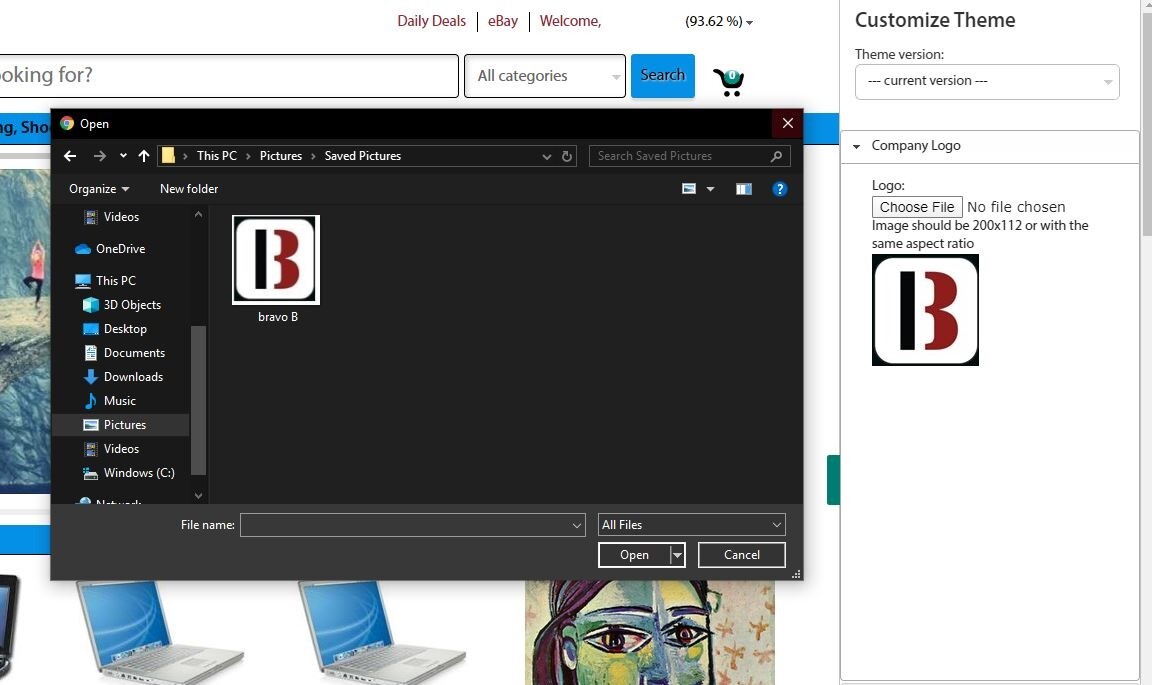
Below that you will see the logo upload option. Upload your store logo and change it from the default buya logo. Remember the goal here is to make this your site, your personal BRANDED site. So, get hat logo updated immediately. The logo should be 200x112 pixels or with the same aspect ratio.
Next you have your Color Options. Take time to test these out and see what your changes do. Find something that represents your company's colors and match your company’s Brand.
If you wan,t you can reference online resources which allow you to find the exact hex color code of your store logo. This will make selecting the colors of your logo and brand easy. Go to a site called https://imagecolorpicker.com/ and then upload a copy of your store logo.
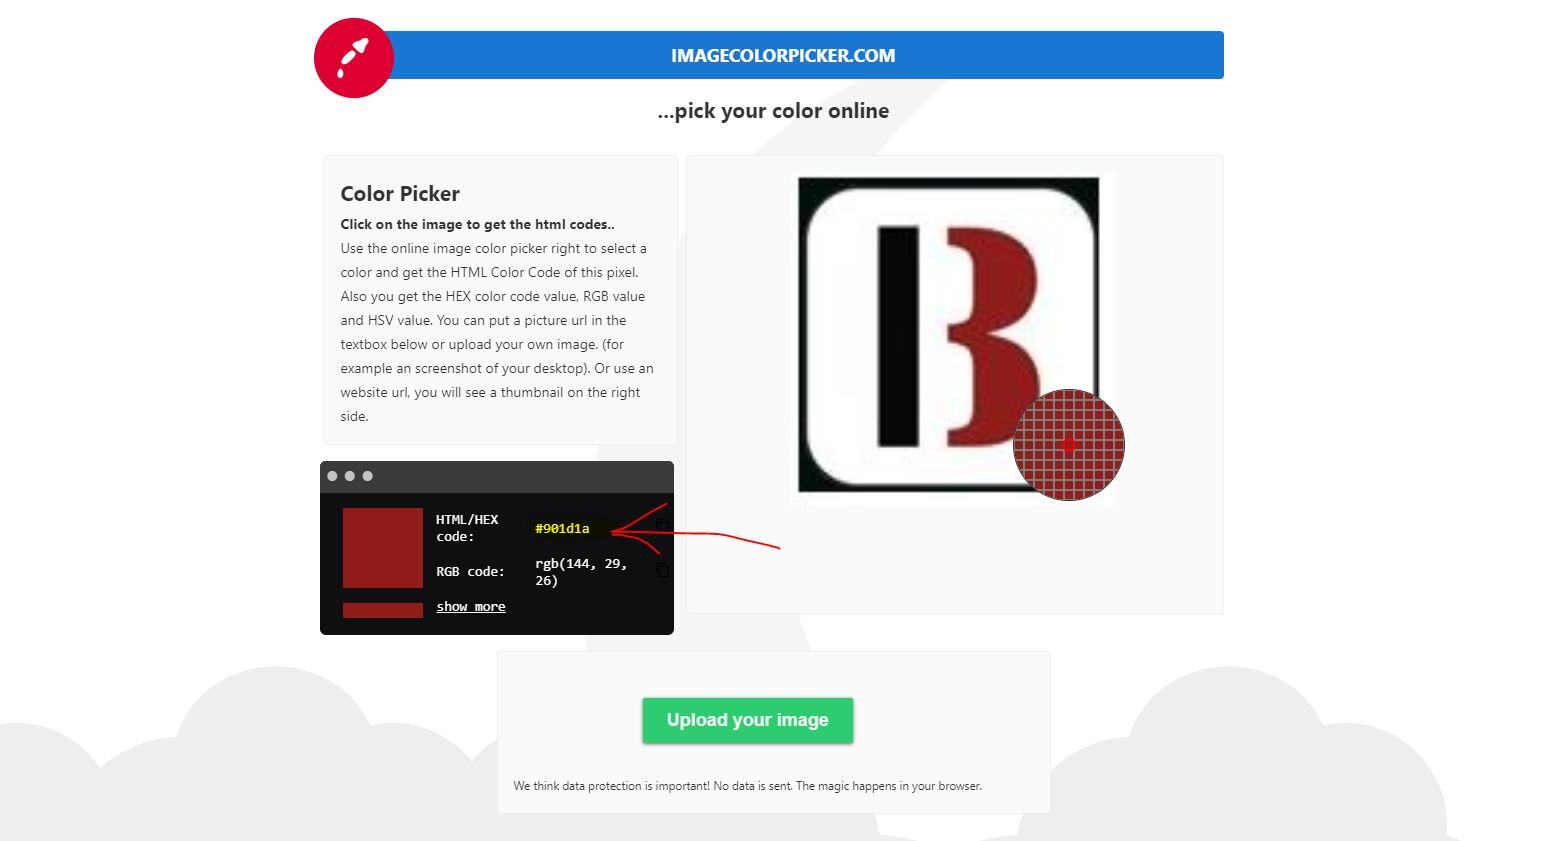
You will then be able to identify the exact hex color code of your logo. You can now use this to enter that hex value into the hex ID field in the color picker drop down.
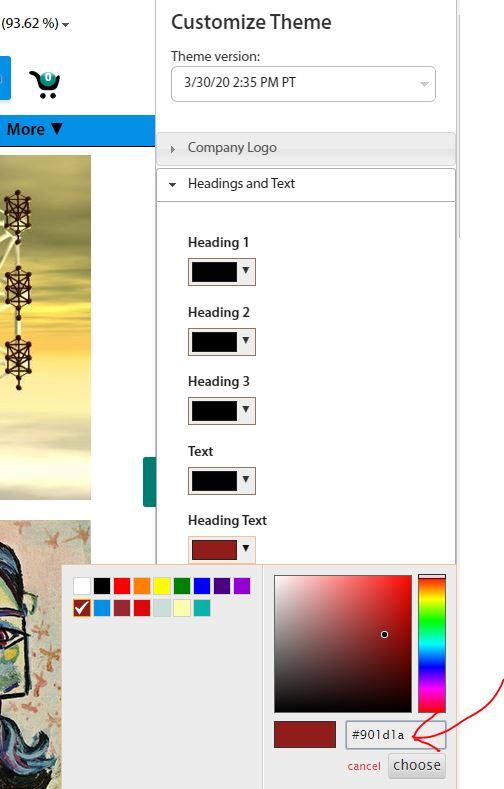
The first set of colors you will edit are the Headings and Text colors.
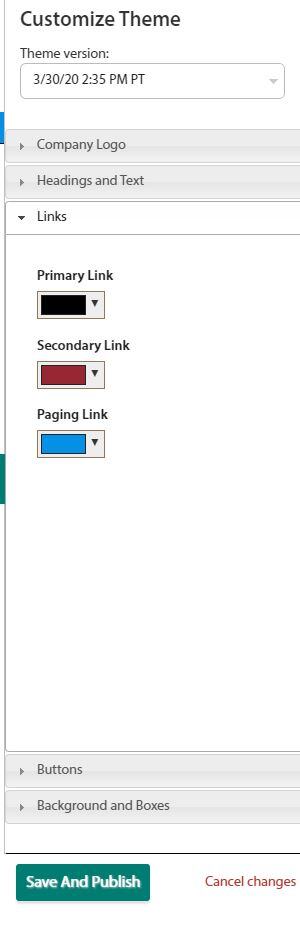
Moving down to Links you will choose the colors of your links on the site.
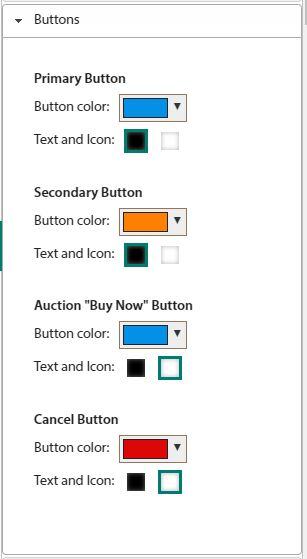
After that you will have Buttons and this will change the colors of the various buttons around the site.
And finally, you will choose the colors of the colors of the Backgrounds and Boxes.
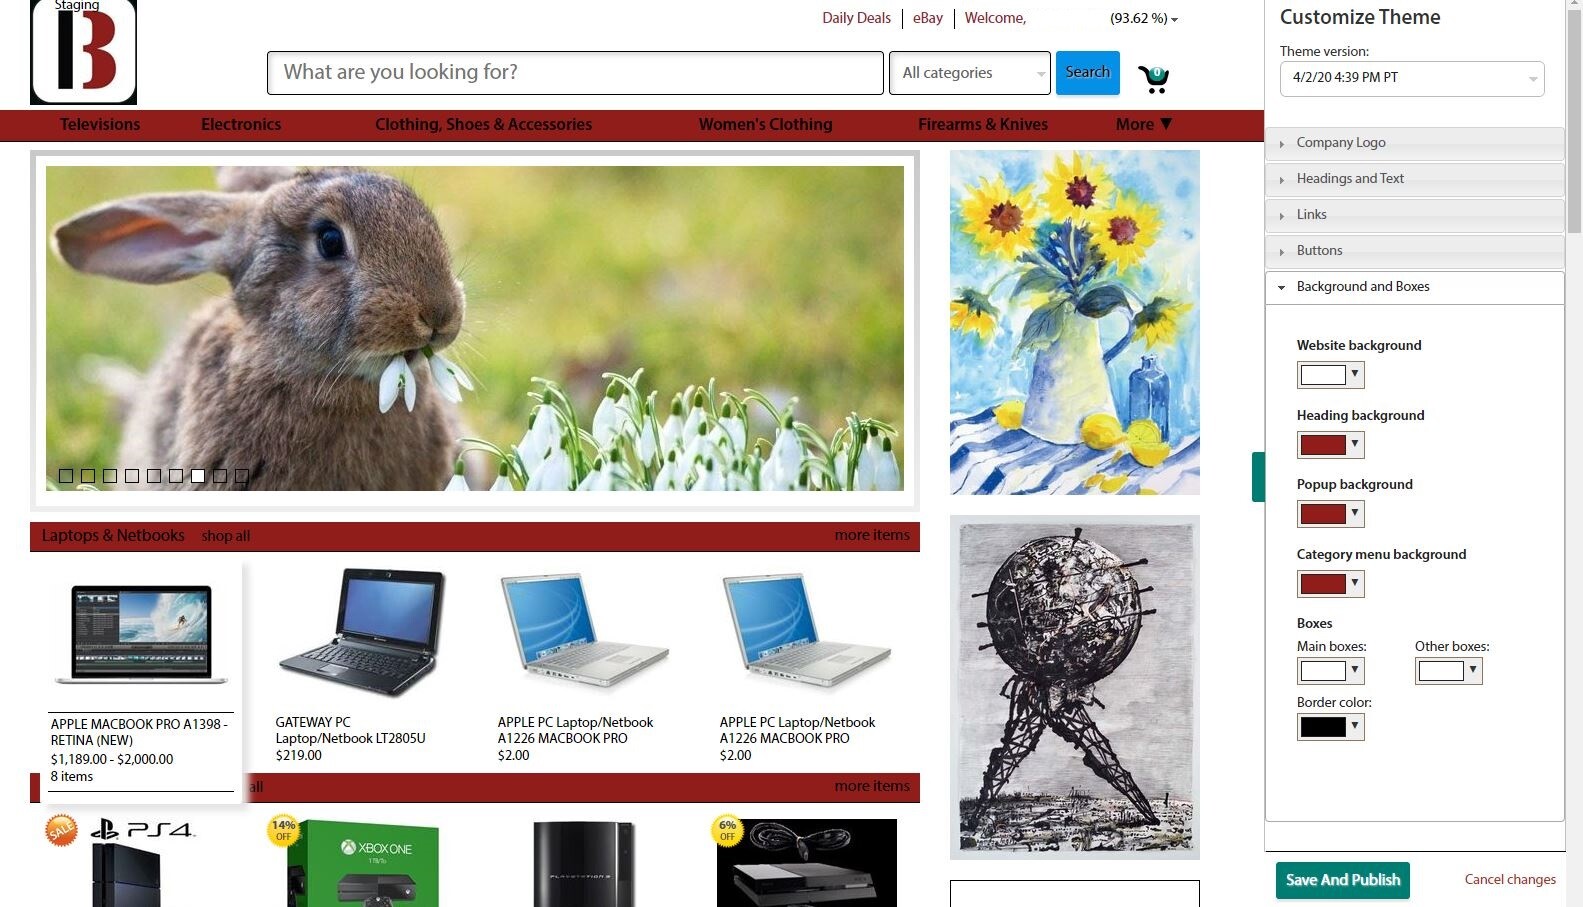
Now click the SAVE AND PUBLISH BUTTON.
And there you have it; the site’s colors have been selected and the feeling of your site.
ADVERTISEMENTS
Now you want to dive back into the administrative console and begin to create and upload your own custom advertisements. This is done by typing in your company branded website name with “/admin” at the end.
Let's go over those options first.
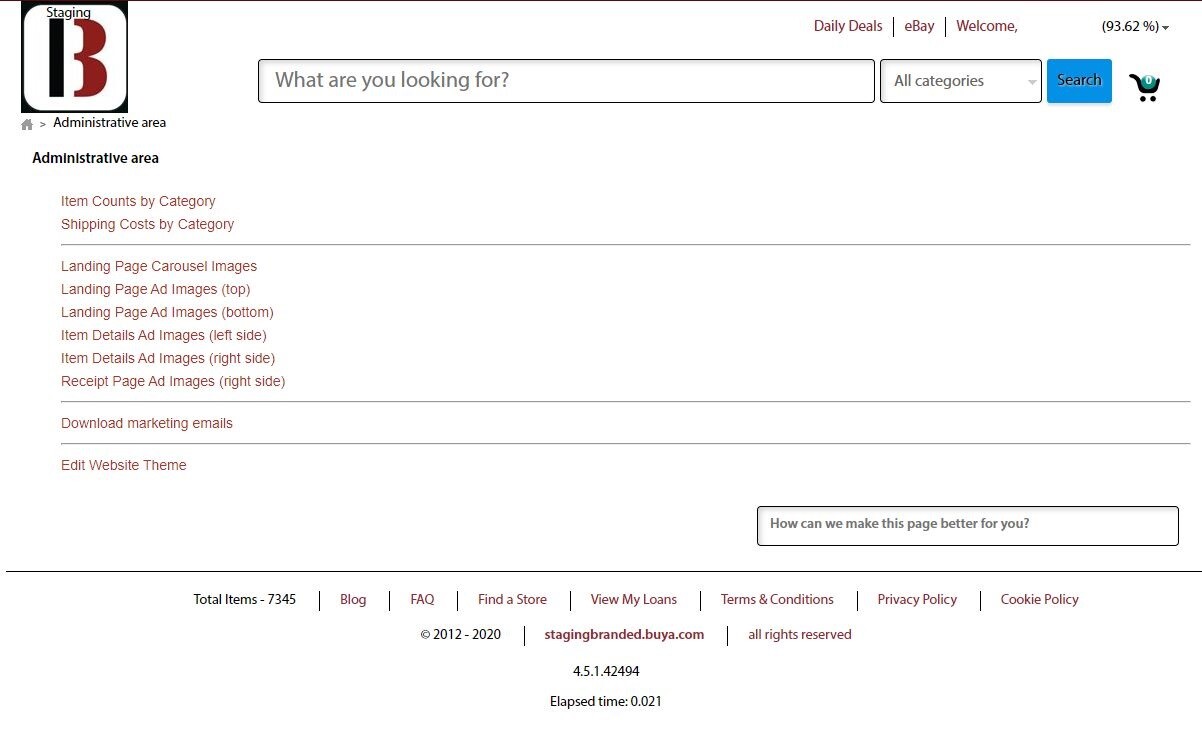
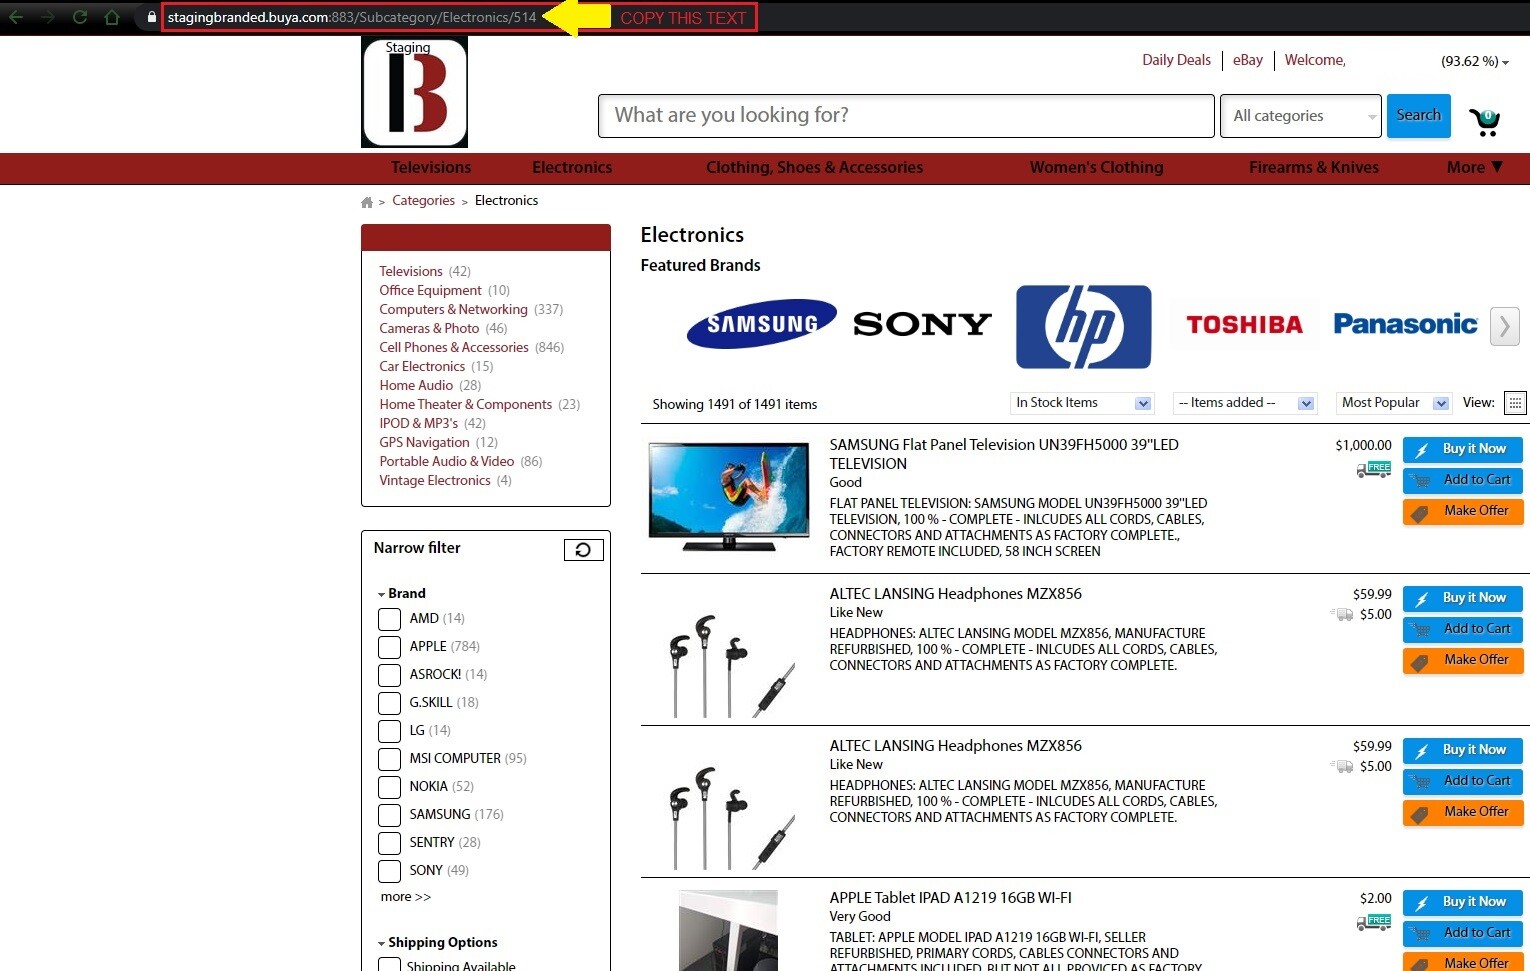
From the top down first, we have the CAROSOL IMAGES. These are the giant rotating ad images that appear on the home screen. You want to create and upload as many adds as you can because they are your key tool for driving customers to the categories of items that you want them to purchase from you the most.
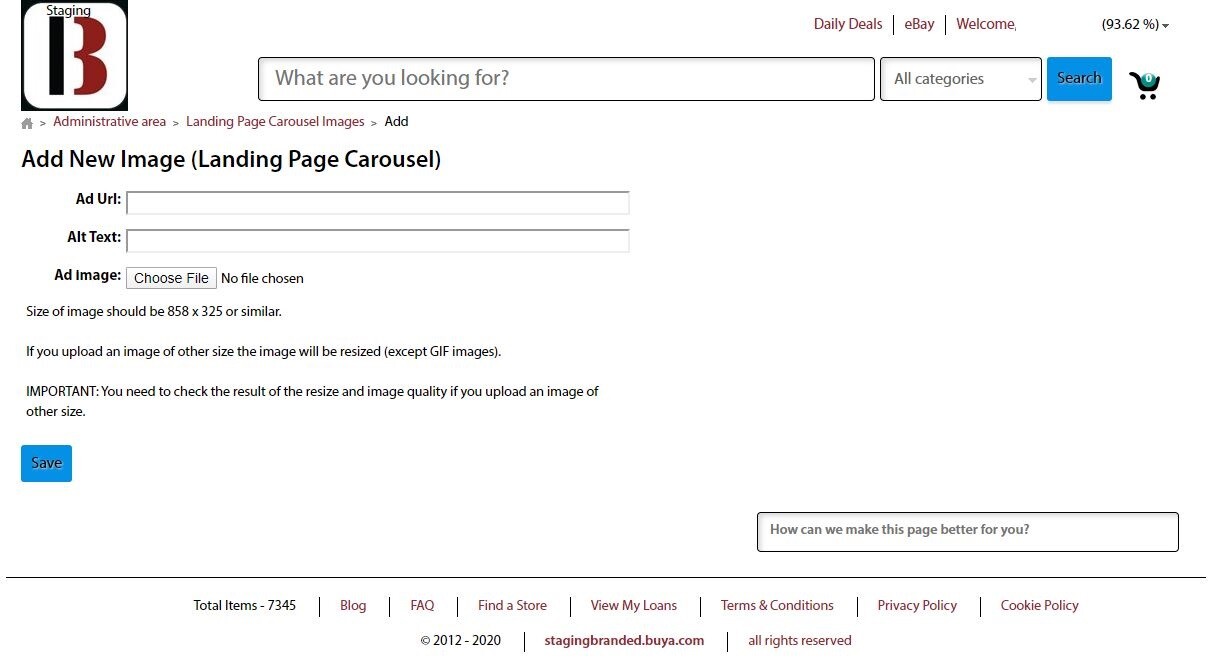
Once enough items have populated on the site you will be able to navigate to those categories and capture the exact URL from the web browser. Then you can use that link as the Ad URL for your advertisement images.
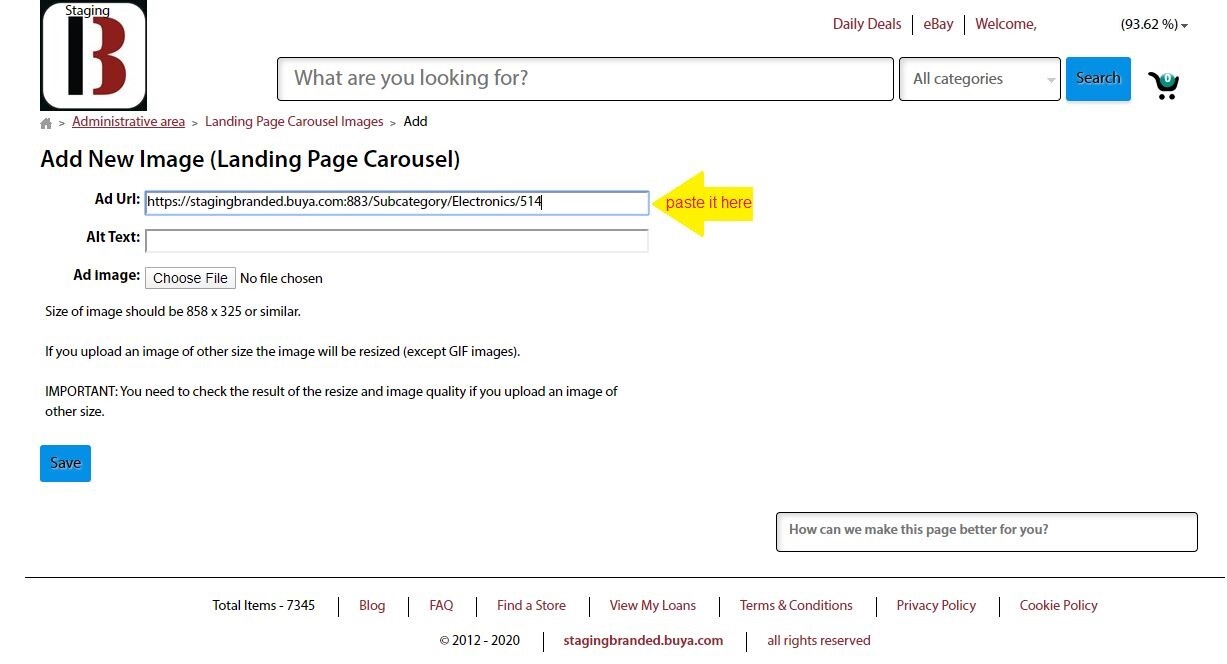
Once you have created and uploaded your carousal ad images and set up the links to your categories then you can move on to the other advertisement upload areas.
The first section is the ads that appear on the right side of the home page, called Landing Page Ad Images (top) and Landing Page Ad Images (bottom)
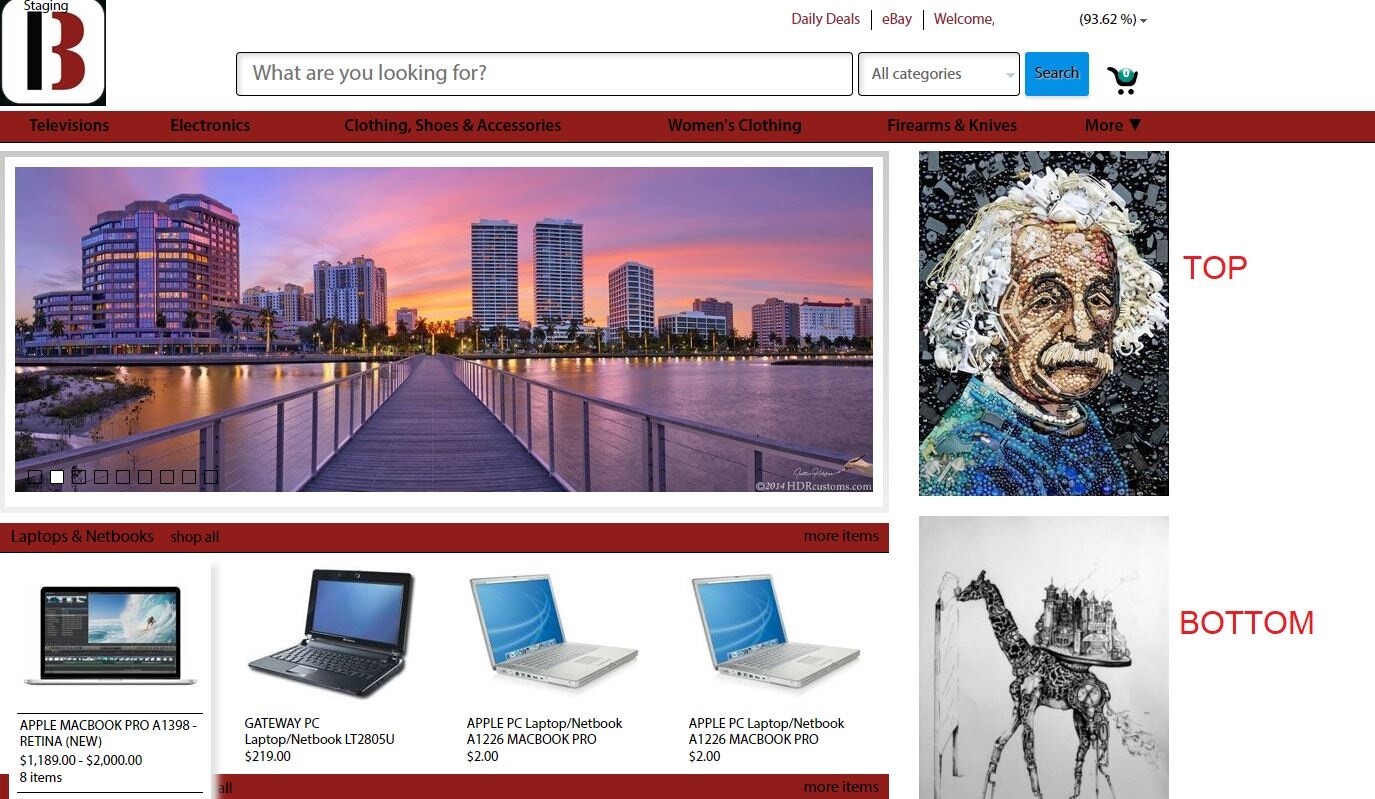
After the top and bottom landing page images you have the Item Details Ad Images (left side) AND the Item Details Ad Images (right side). These ad images show up on the left and right of the page when you are looking directly at an item page.

Now that you have your advertisement links and photos set up your ready to start listing items online and selling!
Now make sure that you as the store owner or manager know the importance of sharing this site with as many people as you can.
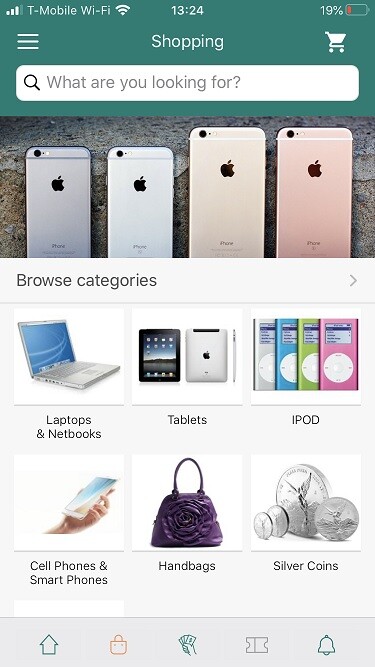
If you are a mobile pawn subscriber, when your customers open the mobile pawn app and click SHOP, they will only be browsing YOUR STORE’ S inventory.
We recommend making some banners and posters to put up around your store to promote your branded site.
Direct customers to mobile pawn and your site by any means necessary, send them emails, text messages, share the site link on all your social media outlets and PROMOTE< PROMOTE< PROMOTE!
Copy the URL/link of your item and share it on Facebook, or Instagram!
Your site is now live and customized so get out there and start selling!